Combine against one half of the B split
1When a B split develops, have Middle and B Anchor combine against one half instead of fighting both halves separately.
When zoomed, focus the map and use the arrow keys to pan. Press Home or Escape to fit the whole map. Scroll over the map or pinch to zoom. Move the pointer outside the map to scroll the page.
Dust 2 CT side depends on an early Long or Catwalk posture, then a clear Mid-to-B response when T pressure moves across the map.
1When a B split develops, have Middle and B Anchor combine against one half instead of fighting both halves separately.
2When Long and Catwalk pressure form an A split, have the A defenders regroup toward Long and Pit and fight one half together so Long remains available against the plant and Catwalk and CT spawn can be retaken as a group.
Video · 2:44When zoomed, focus the map and use the arrow keys to pan. Press Home or Escape to fit the whole map. Scroll over the map or pinch to zoom. Move the pointer outside the map to scroll the page.
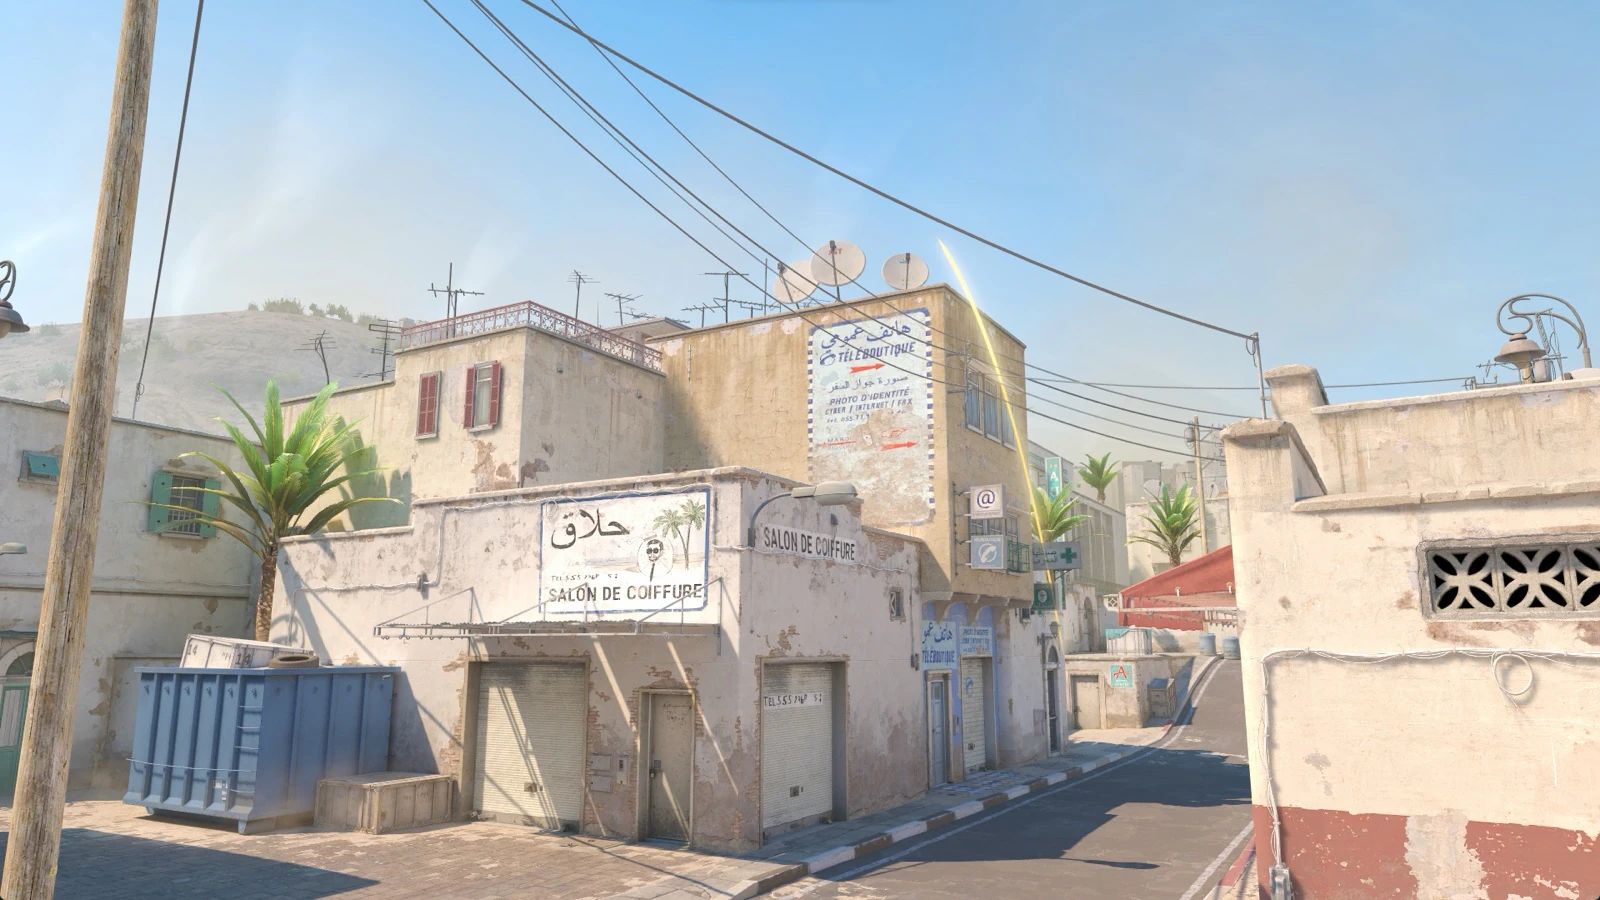
Flashes Long Corner from CT Cross so CTs can contest or retake Long without dry-swinging the corner.
Lineups
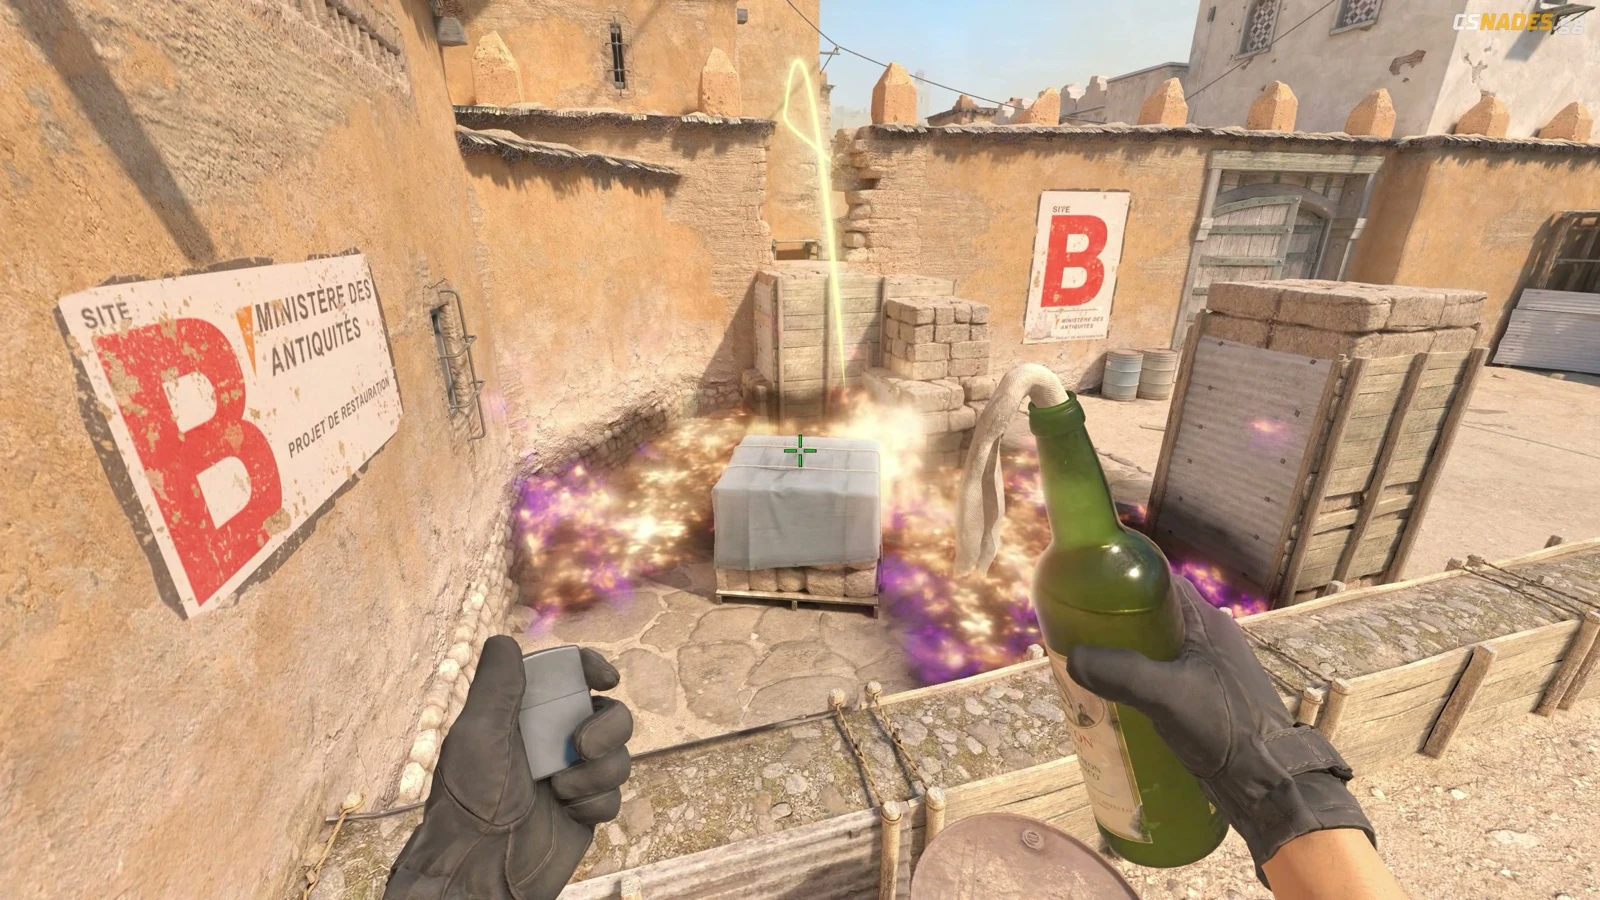
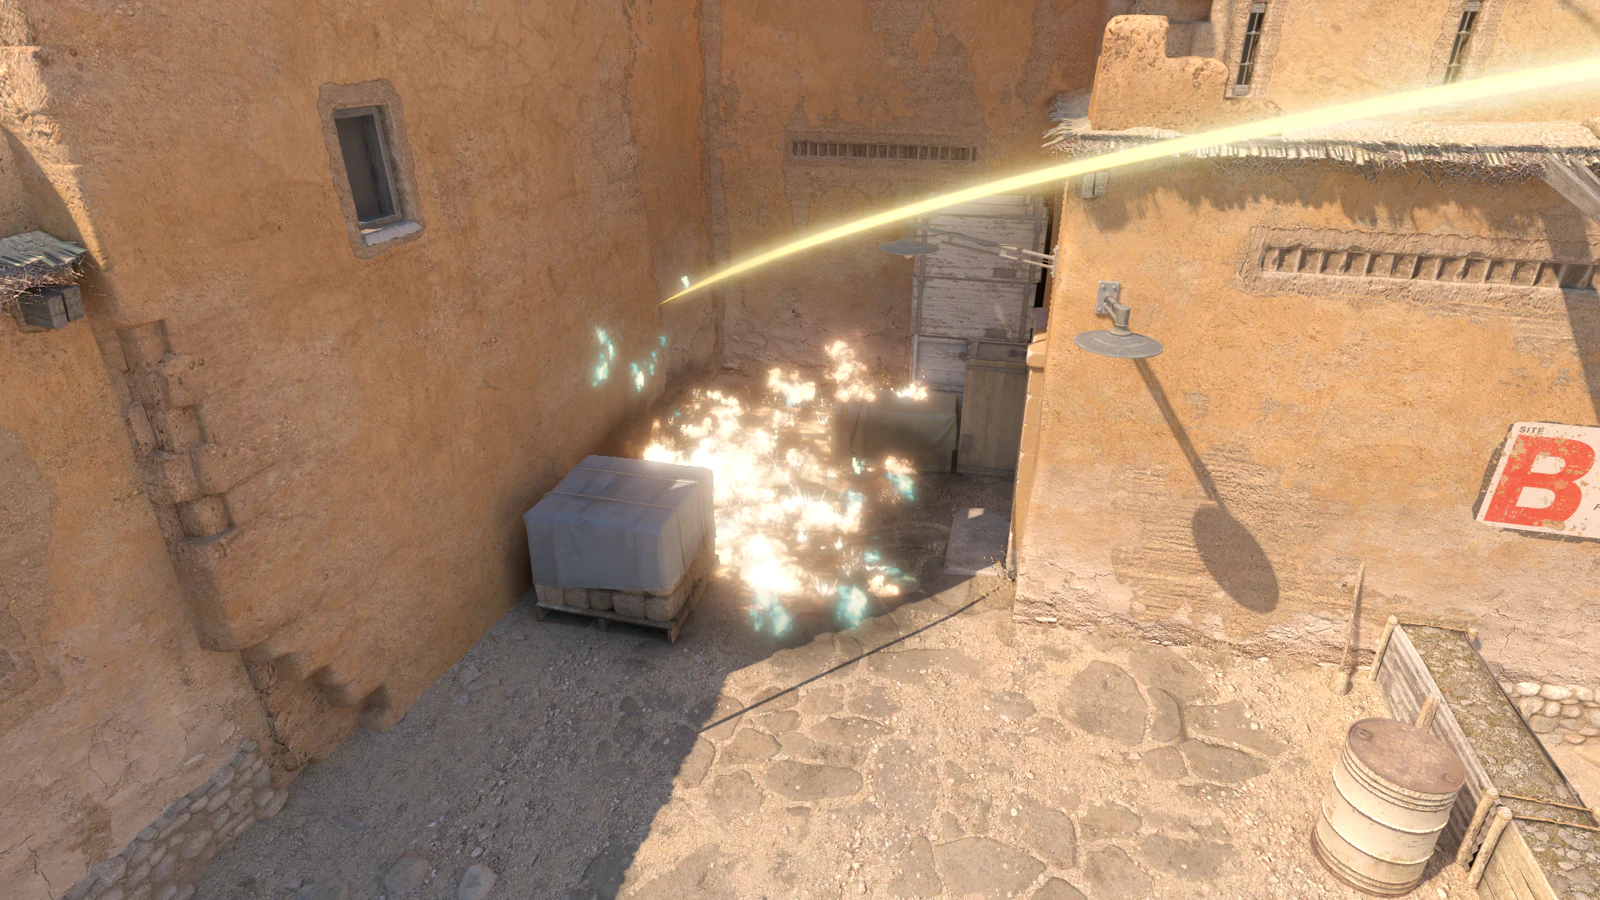
Clears the under-window pocket during B retakes or late site holds.
Lineups
TBD
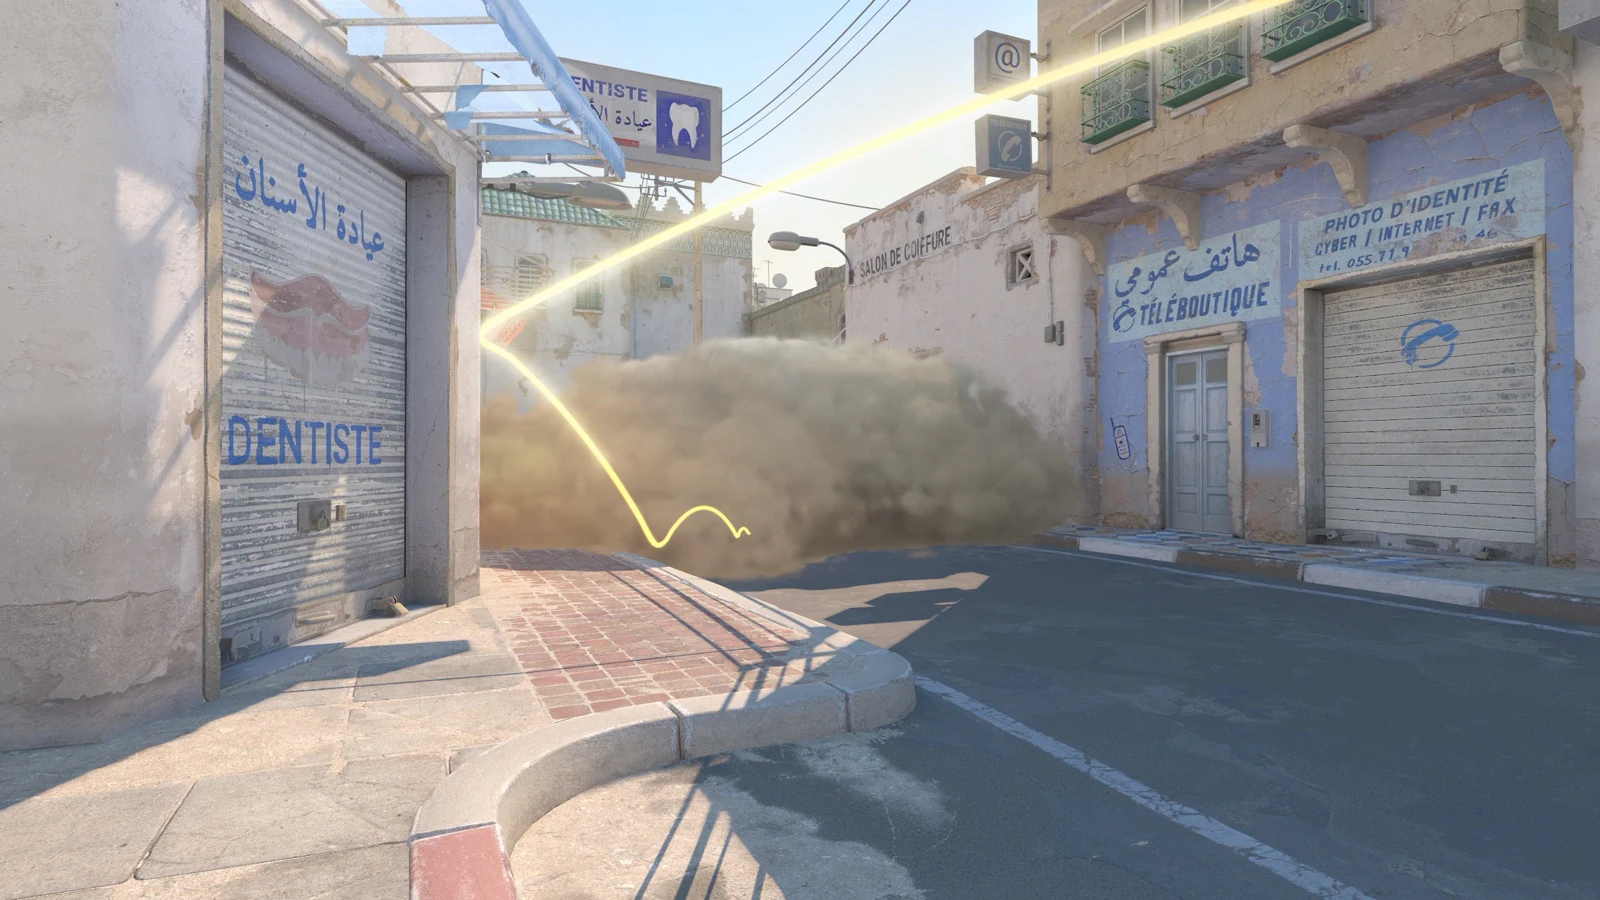
Cuts the Long lane from Elevator so CTs cannot freely fight back into Long control.
Lineups
Flashes Long Corner from CT Cross so CTs can contest or retake Long without dry-swinging the corner.
Lineups
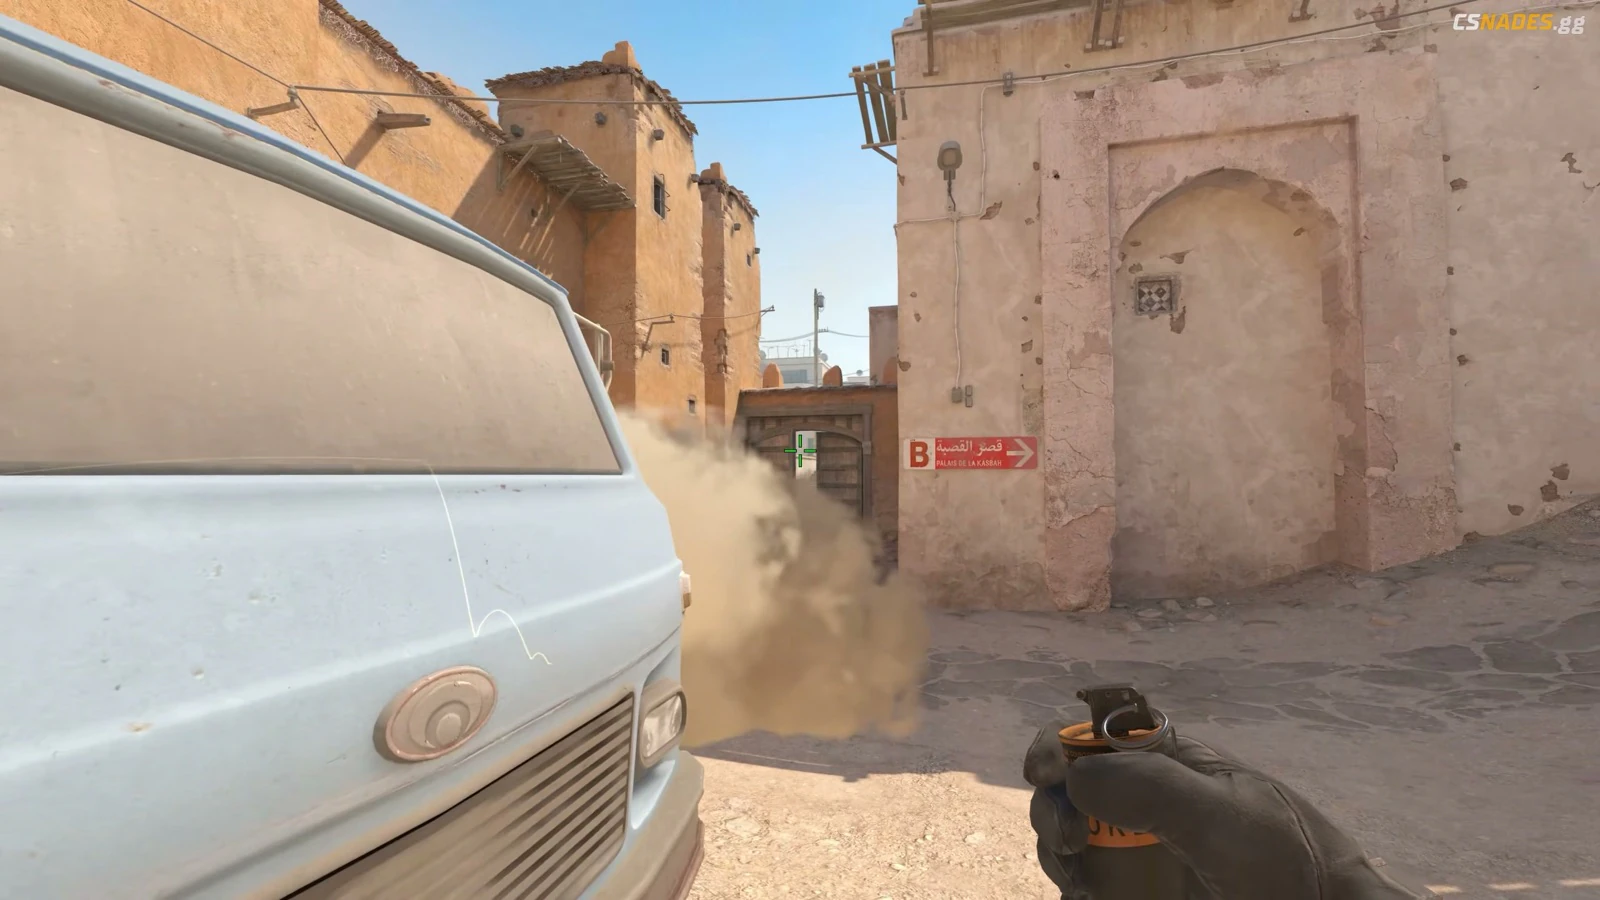
Covers the CT Mid cross early so the Mid player can move without eating T Spawn vision through Doors.
Lineups
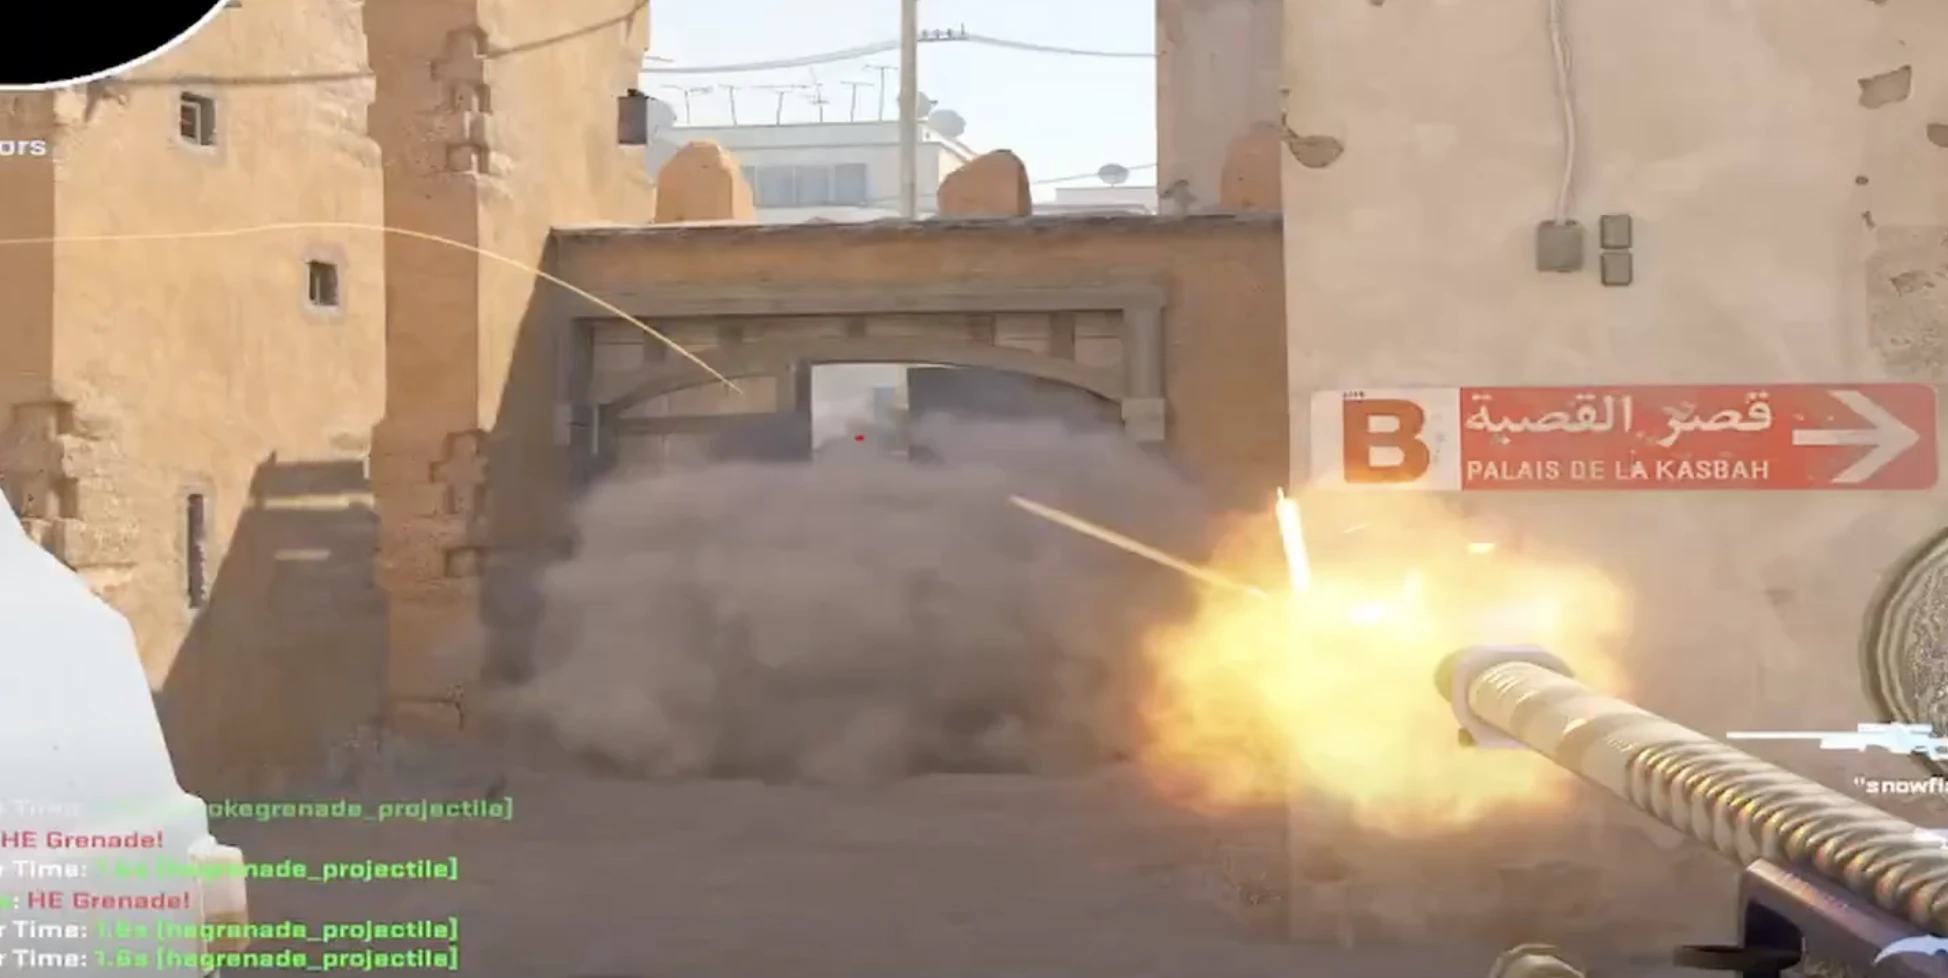
Briefly clears the T smoke at Mid Doors so the Middle player can see the cross or take the next fight.
Lineups
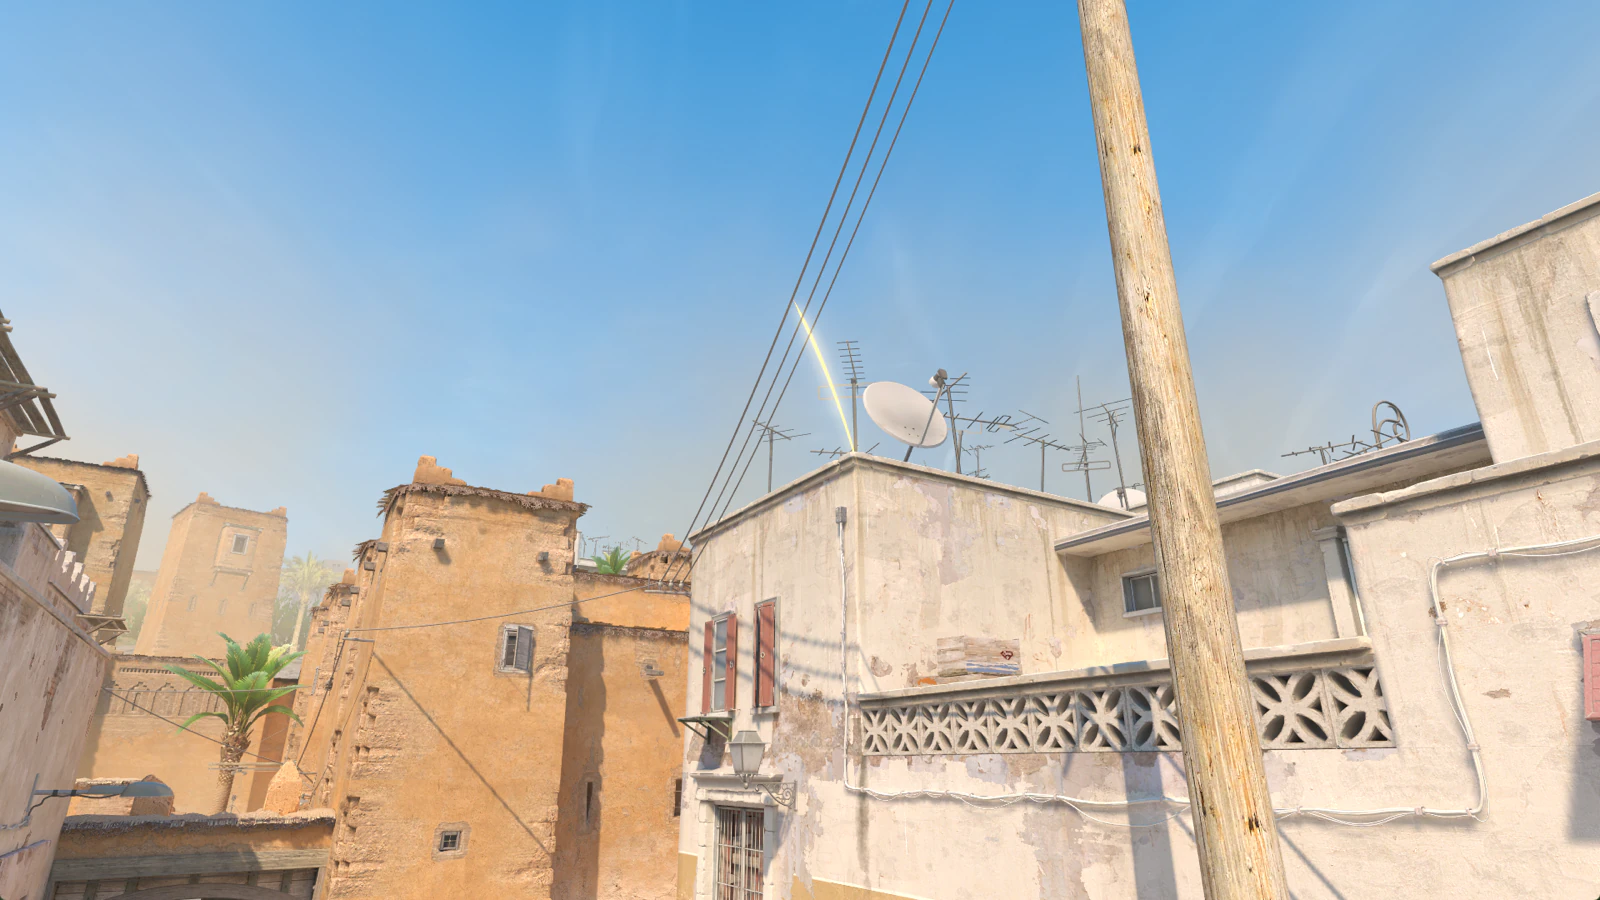
Lets CTs re-peek Mid or support a Short reclear without offering a dry duel through Mid Doors.
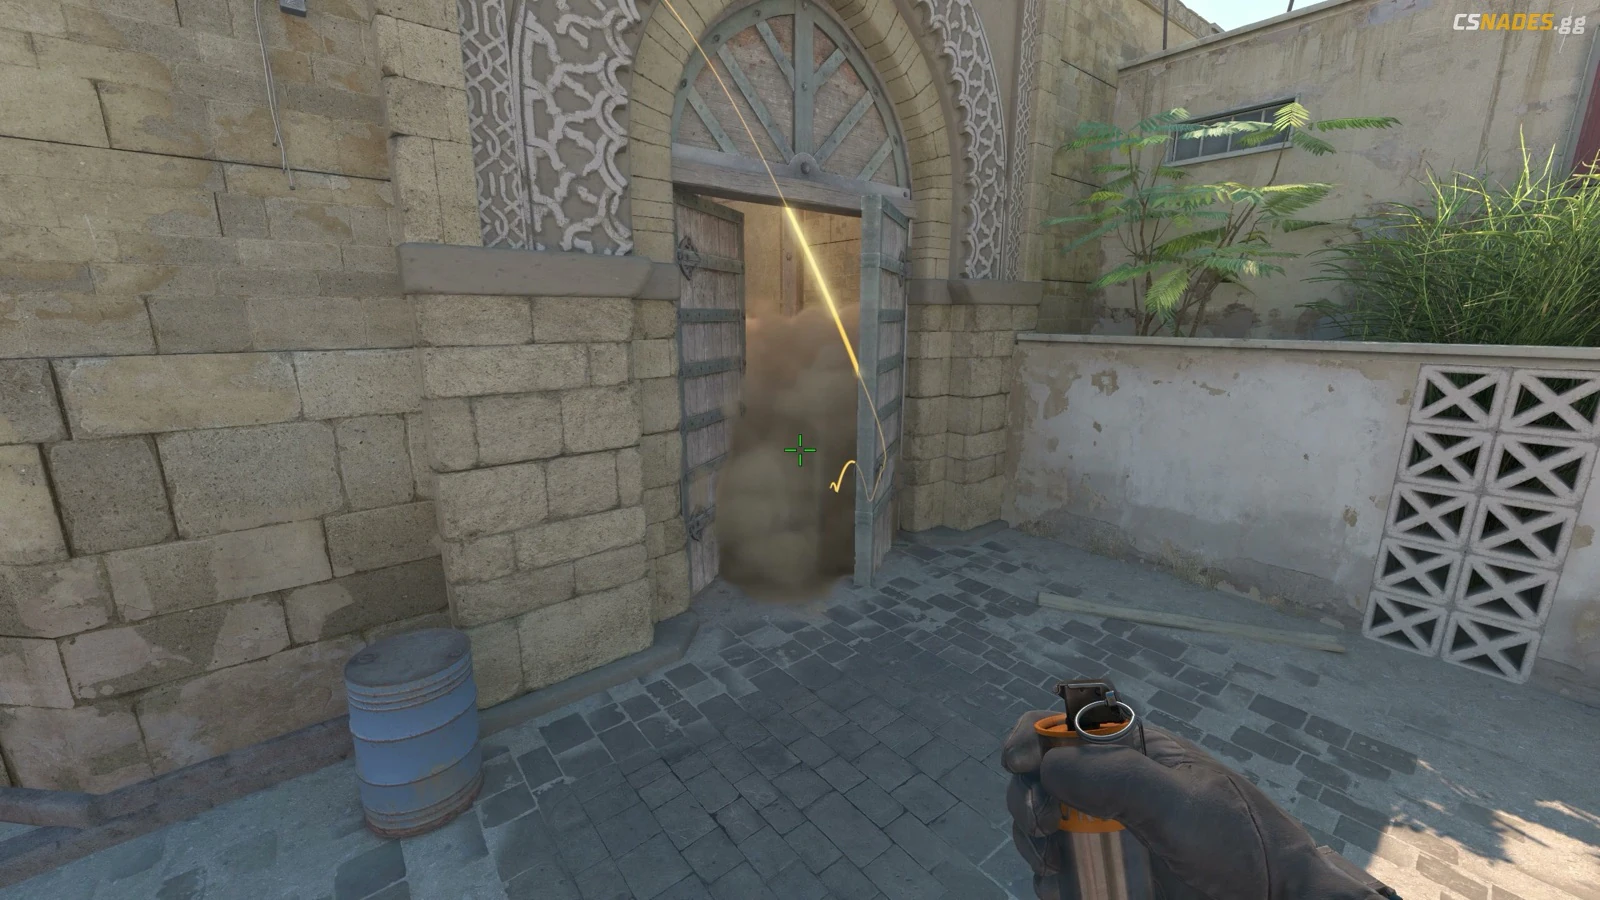
Blocks Long Doors from Elevator so CTs can contest or reset Long control without giving Ts the doorway fight.
Lineups
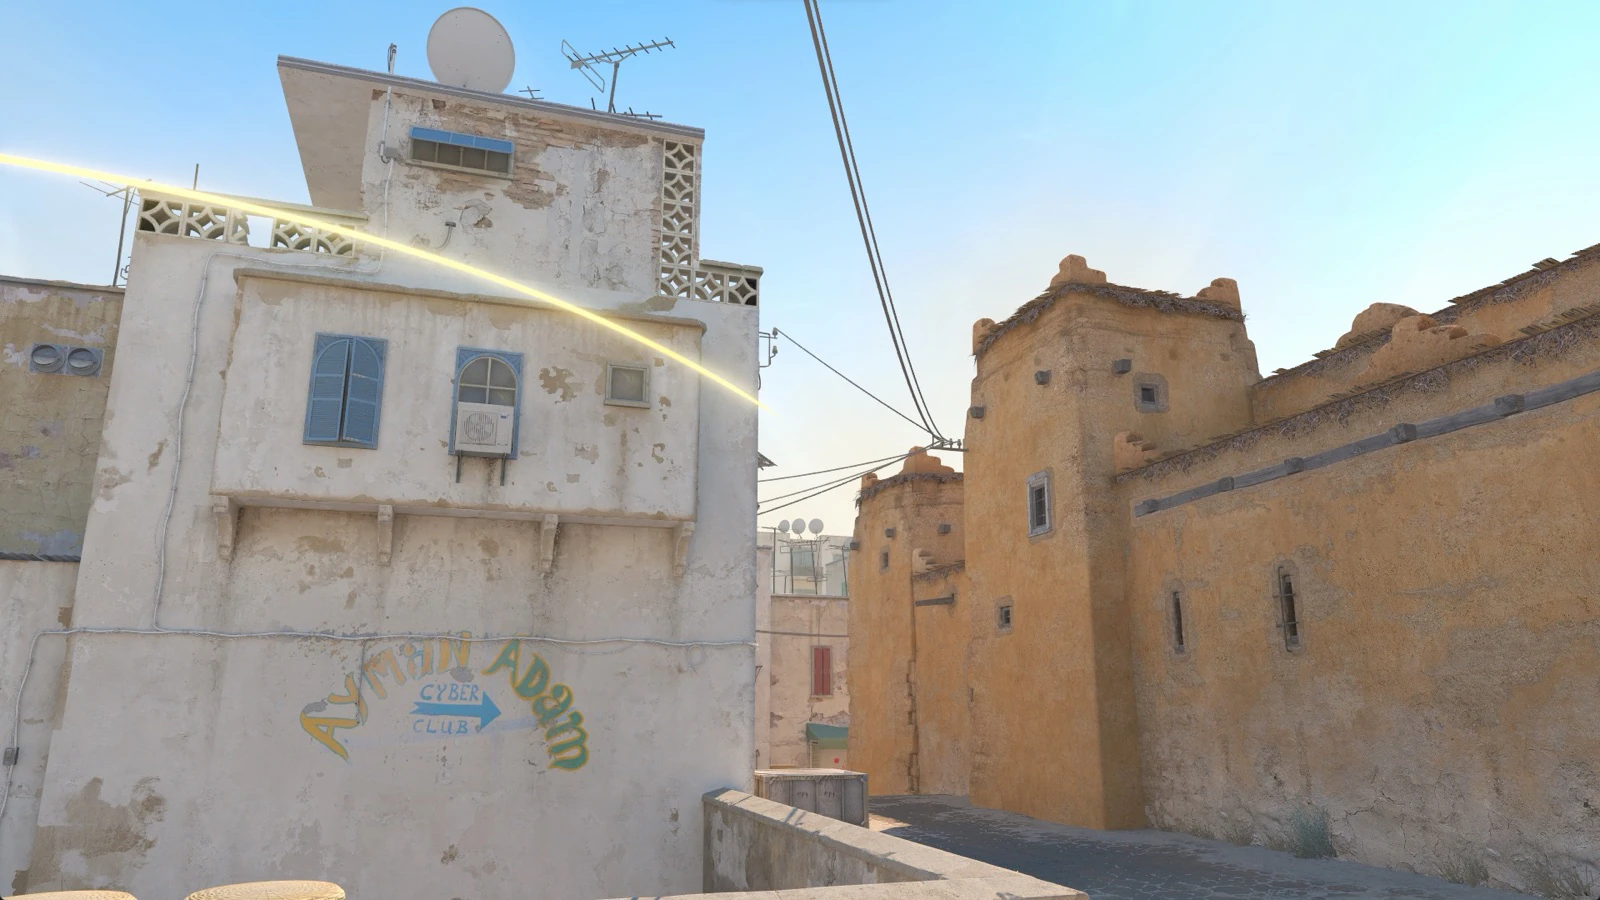
Pops from A Site into Short so the A player can support a Catwalk reclear or late retake pressure.
Lineups
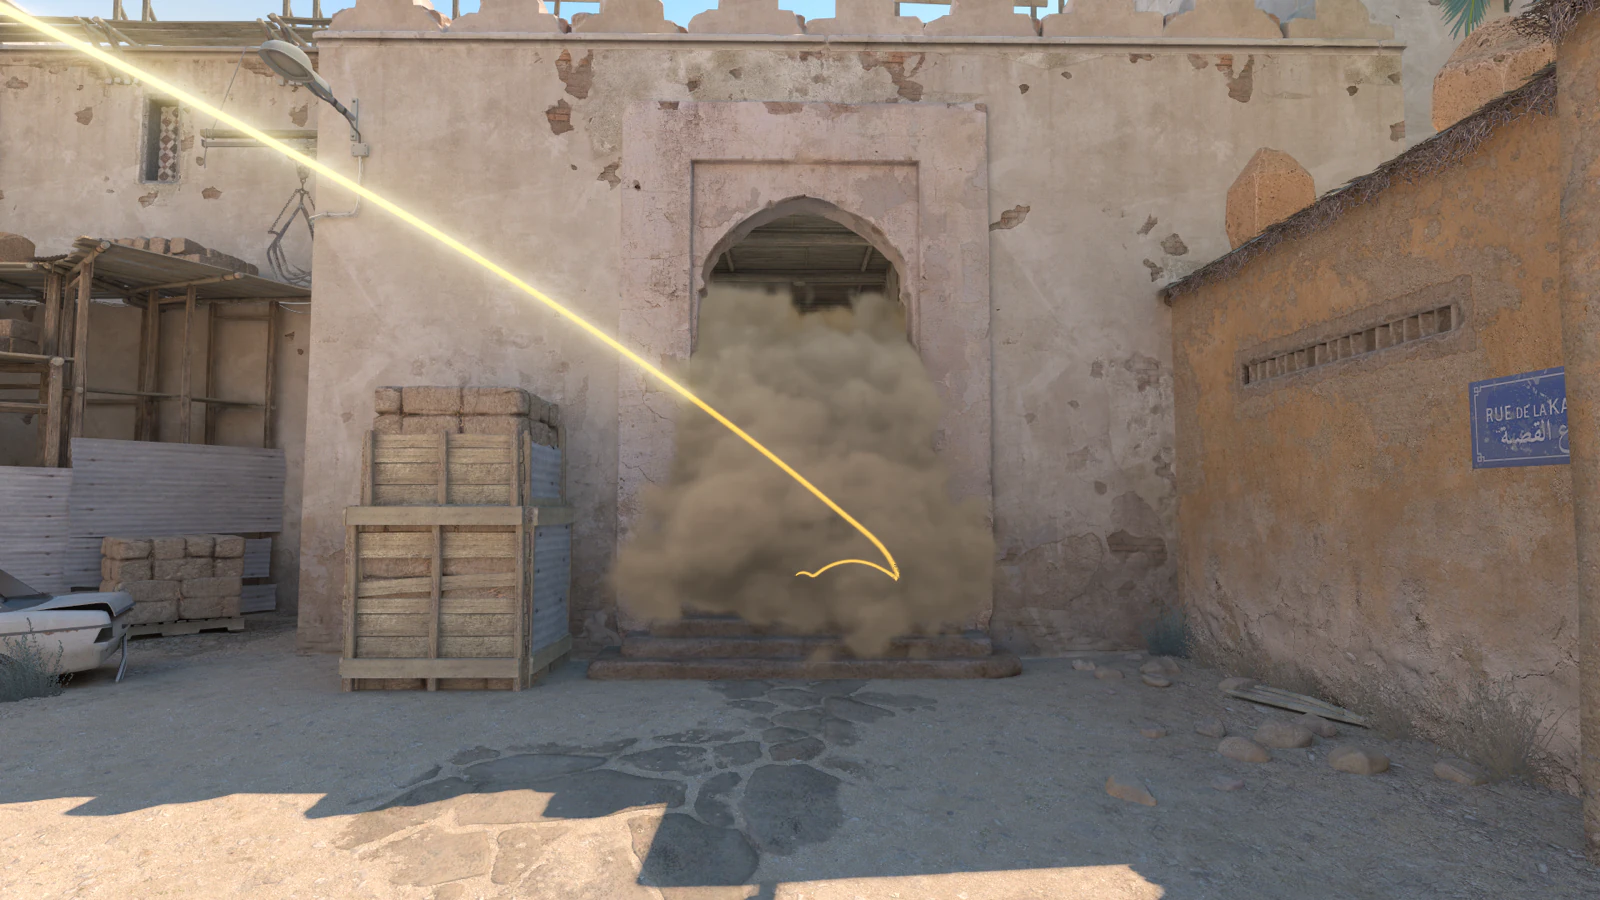
Stops the Upper Tunnels flood and gives the B pair time to decide between fighting, falling site, or calling a retake.
Lineups
Lineups
Lineups
8 situational utilities are tucked away until needed.
TBD
TBD
TBD
TBD
TBD