Starter Guide

An initial plan an IGL can use on the first gun round.

SectionsPositions

Positions

When zoomed, focus the map and use the arrow keys to pan. Press Home or Escape to fit the whole map. Scroll over the map or pinch to zoom. Move the pointer outside the map to scroll the page.

100%
AQuadNBKSqueakyShroudLobbyDefaultRedMainForkLockerLongCatE-BoxToxicAntiFlashTruckHighwayPipeRampTruckBoostCTSpawnWhiteBoxRedSpoolsMidGarageTSpawnZSandbagsRoofVentsCheckersSnaxLowerMainHeavenExitHellTreePitHallsMissileHeadshotDefaultBBackSiteSunRoomNinjaA ExtremityMiddleB ExtremityAWPAWPAWP
AWP
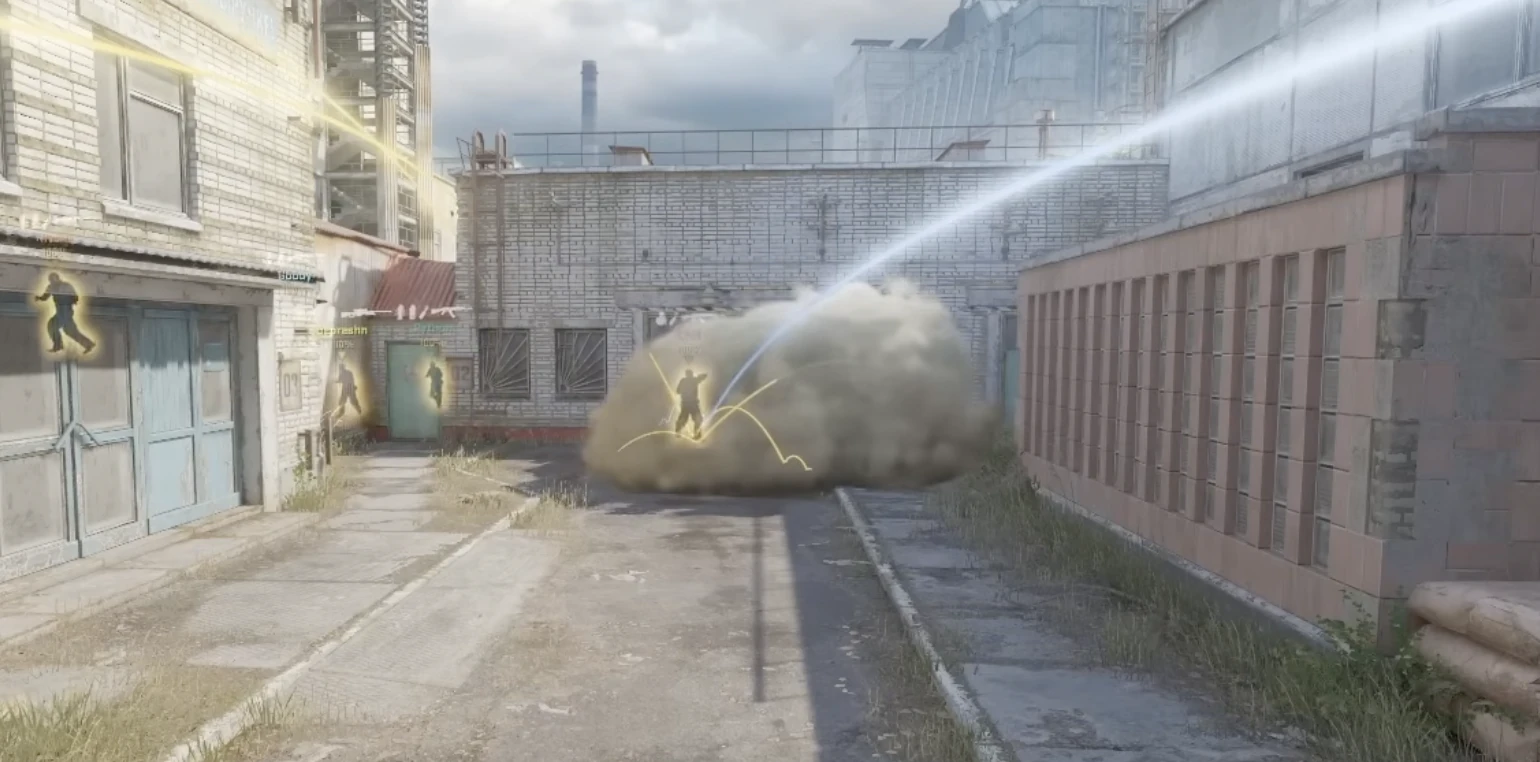
    • Start most rounds by smoking Z and putting at least one player on Boost
    • When taking Mid, coordinate the entry between garage and boost, then threaten Highway and Vents with Molotovs and flashes.
    • Ensure that someone is flashing Highway to push the CT back and create space for your Mid entry
    • If you get one or two untraded frags in Mid, reset and go quiet to confuse the defenders, then regroup as four or five and hit a site together on contact.
    See Responsibilities

Game Plan

Cache T rounds run through Mid: keep A Main and B Main alive, force the Mid defenders to reveal their shape, then split through Highway or Vents.

  1. Make three-player Mid pressure the baseline: smoke Z, occupy Boost, clear Sandbags, flash Highway, and trade the ground pair.
  2. Keep A Main and B Main represented so the extremities can report CT pushes, utility usage, open lanes, and whether either anchor has taken space.
  3. If CTs hard-fight Mid and commit Vents, clear Vents; B pressure pulls the rotation and opens Mid or A.
  4. Once a split is chosen, have the extremity player for the opposite site lurk toward Mid, take a flank, or slowly rotate through Spawn toward the chosen site.

Protocols

Reboost after the Boost molly

1When CT utility burns the first player off Boost, have the A Extremity reboost them, then return to A Main so the lane stays covered.

Time the Highway flash with Mid contact

2As the ground pair starts its Mid swing, have the support flash Highway so Boost can trade the close fight.

Take Sun Room behind the B Main smoke

3When CTs smoke B Main early, have the B Extremity take Sun Room, check the push, and stay alive to enable the split.

Turn Mid control into Checkers

4When the Mid group reaches Vents, the B Extremity flashes teammates into Checkers, then throws the CT Spawn and Heaven utility.

Use Z as the late rotation cut

5When a lurker reaches Z unseen during a Highway or Vents split, have them hold the Truck rotation until the pack is secure.

Keep both extremities represented

6When the Mid group takes space, keep A Main and B Main represented so the extremities can report CT pushes and identify the open split.

Contain A Main during the Highway split

7When the pack splits through Highway, have the Highway players take contact while A Main contains the anchor and prevents a push.

Disrupt the A anchor before the split

8When preparing an A split, use light flashes or mollies for Fence and Quad so the A anchor cannot hold the site comfortably.

Default + Conditioning

  • Default

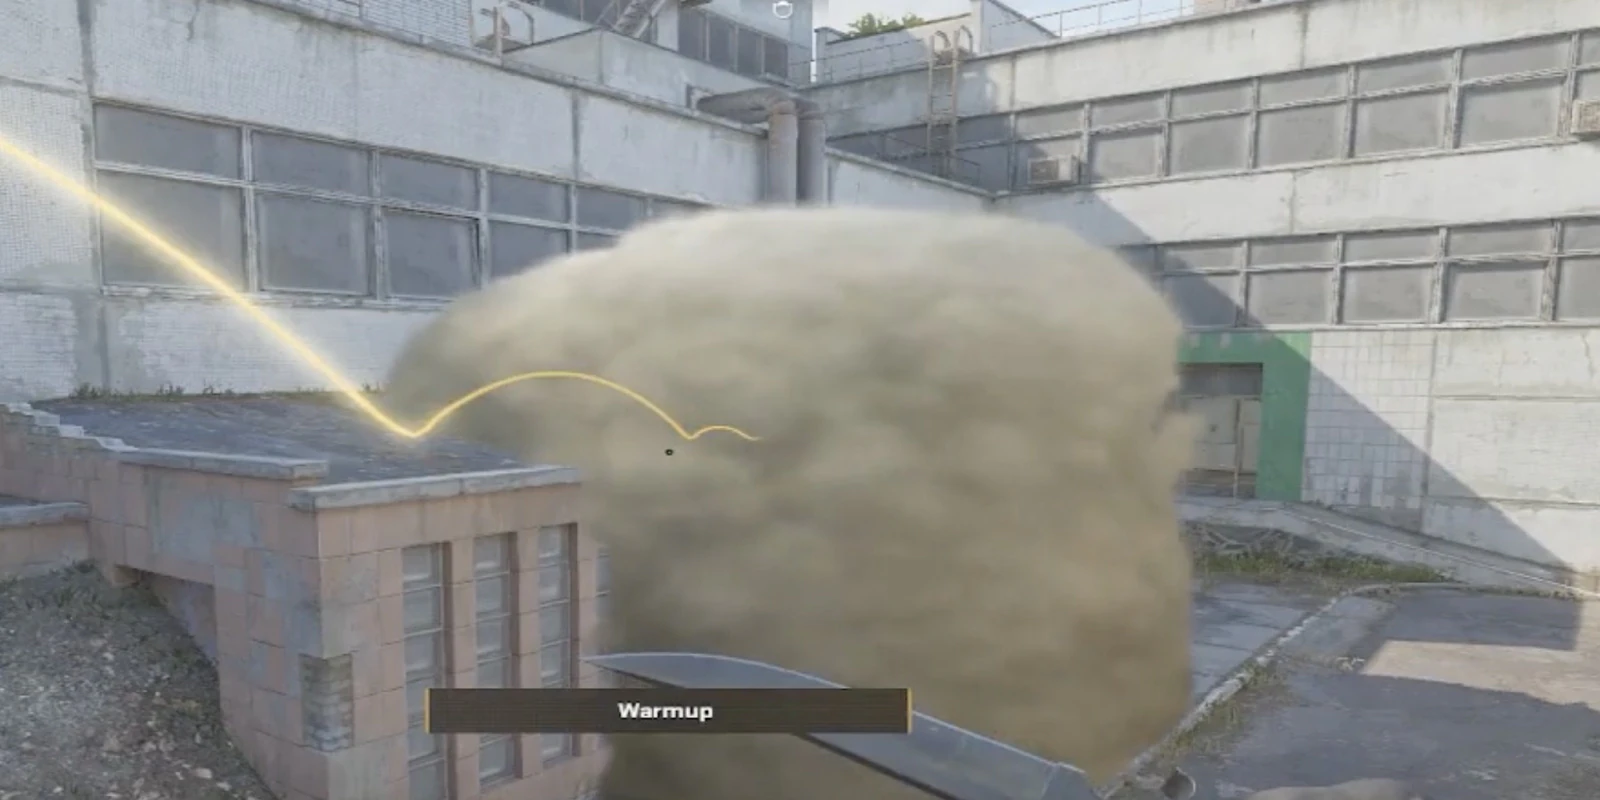
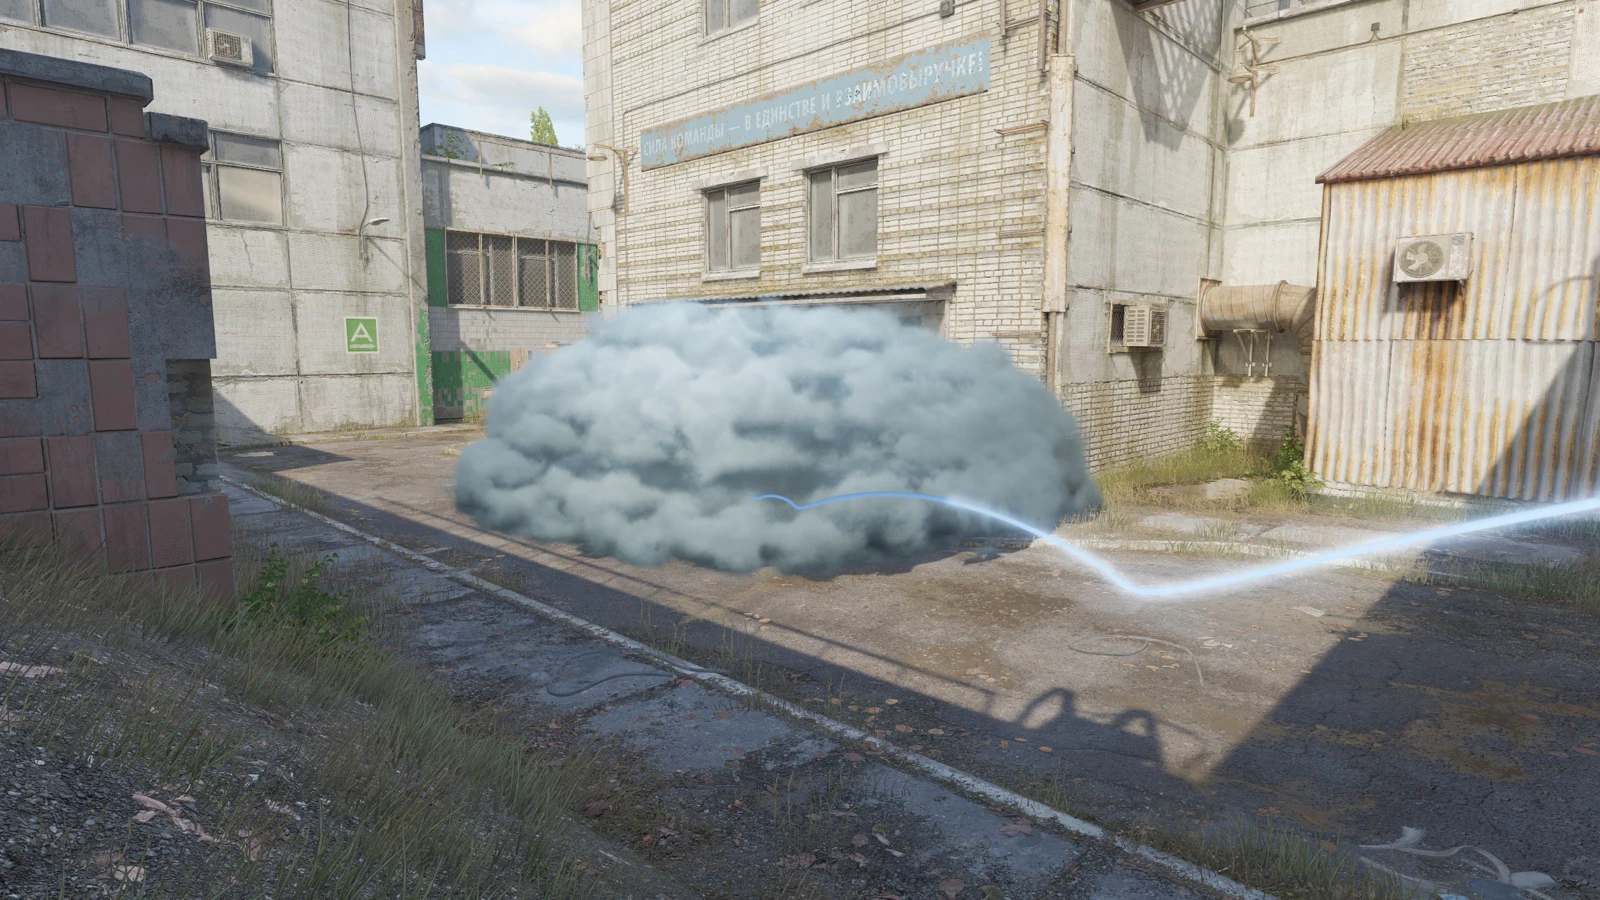
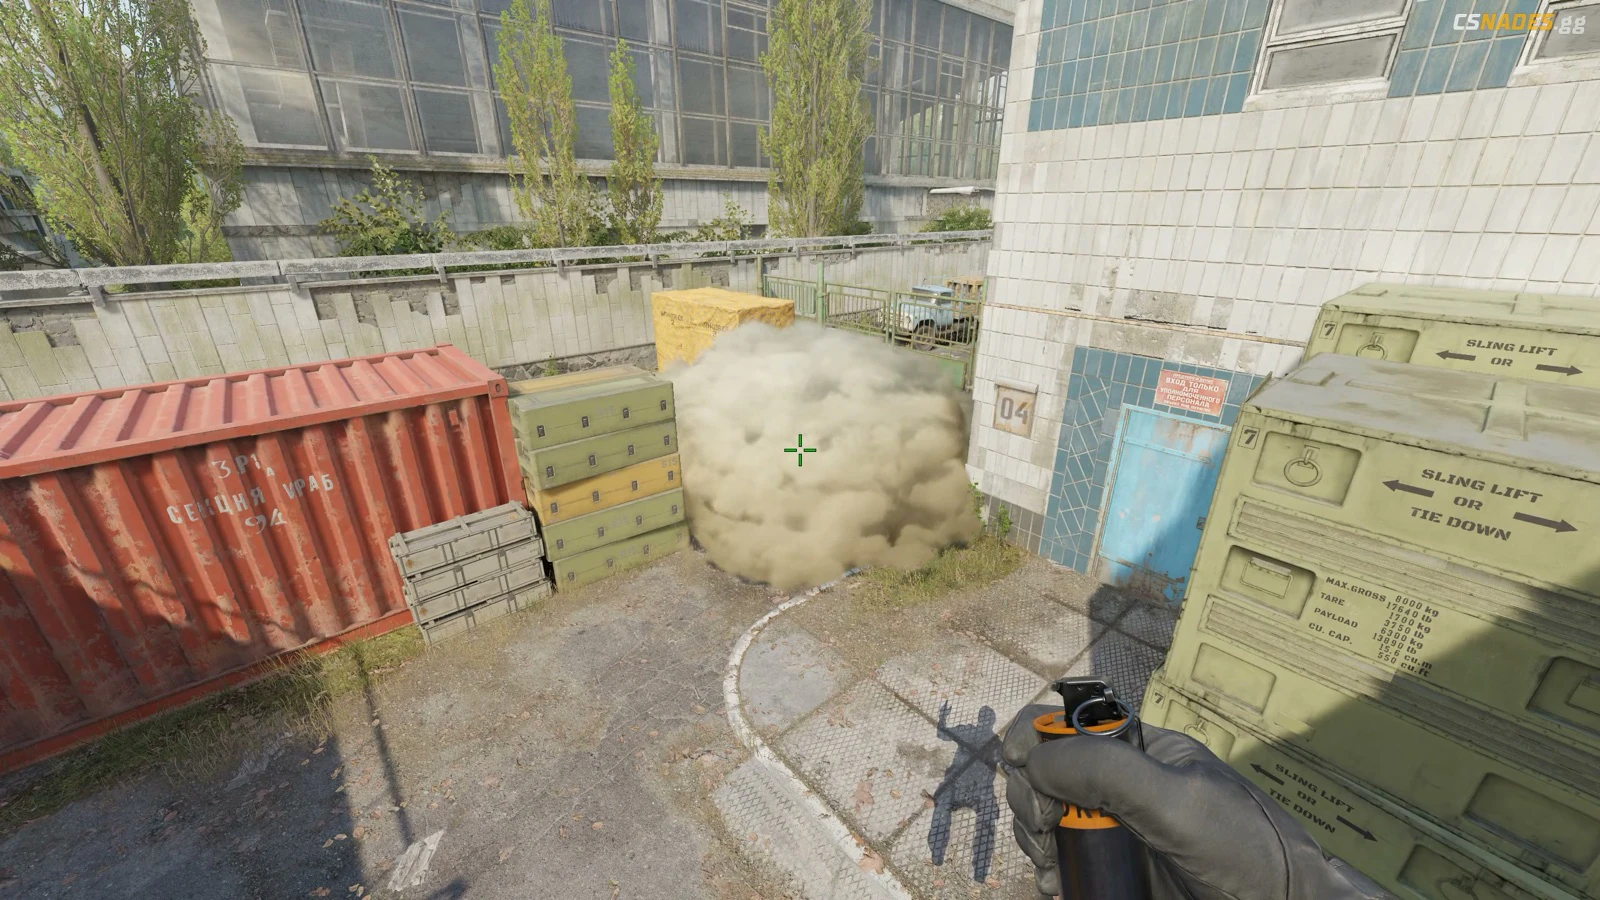
    Z smoke

    When zoomed, focus the map and use the arrow keys to pan. Press Home or Escape to fit the whole map. Scroll over the map or pinch to zoom. Move the pointer outside the map to scroll the page.

    100%
    AQuadNBKSqueakyShroudLobbyDefaultRedMainForkLockerLongCatE-BoxToxicAntiFlashTruckHighwayPipeRampTruckBoostCTSpawnWhiteBoxRedSpoolsMidGarageTSpawnZSandbagsRoofVentsCheckersSnaxLowerMainHeavenExitHellTreePitHallsMissileHeadshotDefaultBBackSiteSunRoomNinjaS
    SmokeT playerPlayer 2
    • Cache Z smoke result from T Spawn

      Z smoke

      Smoke

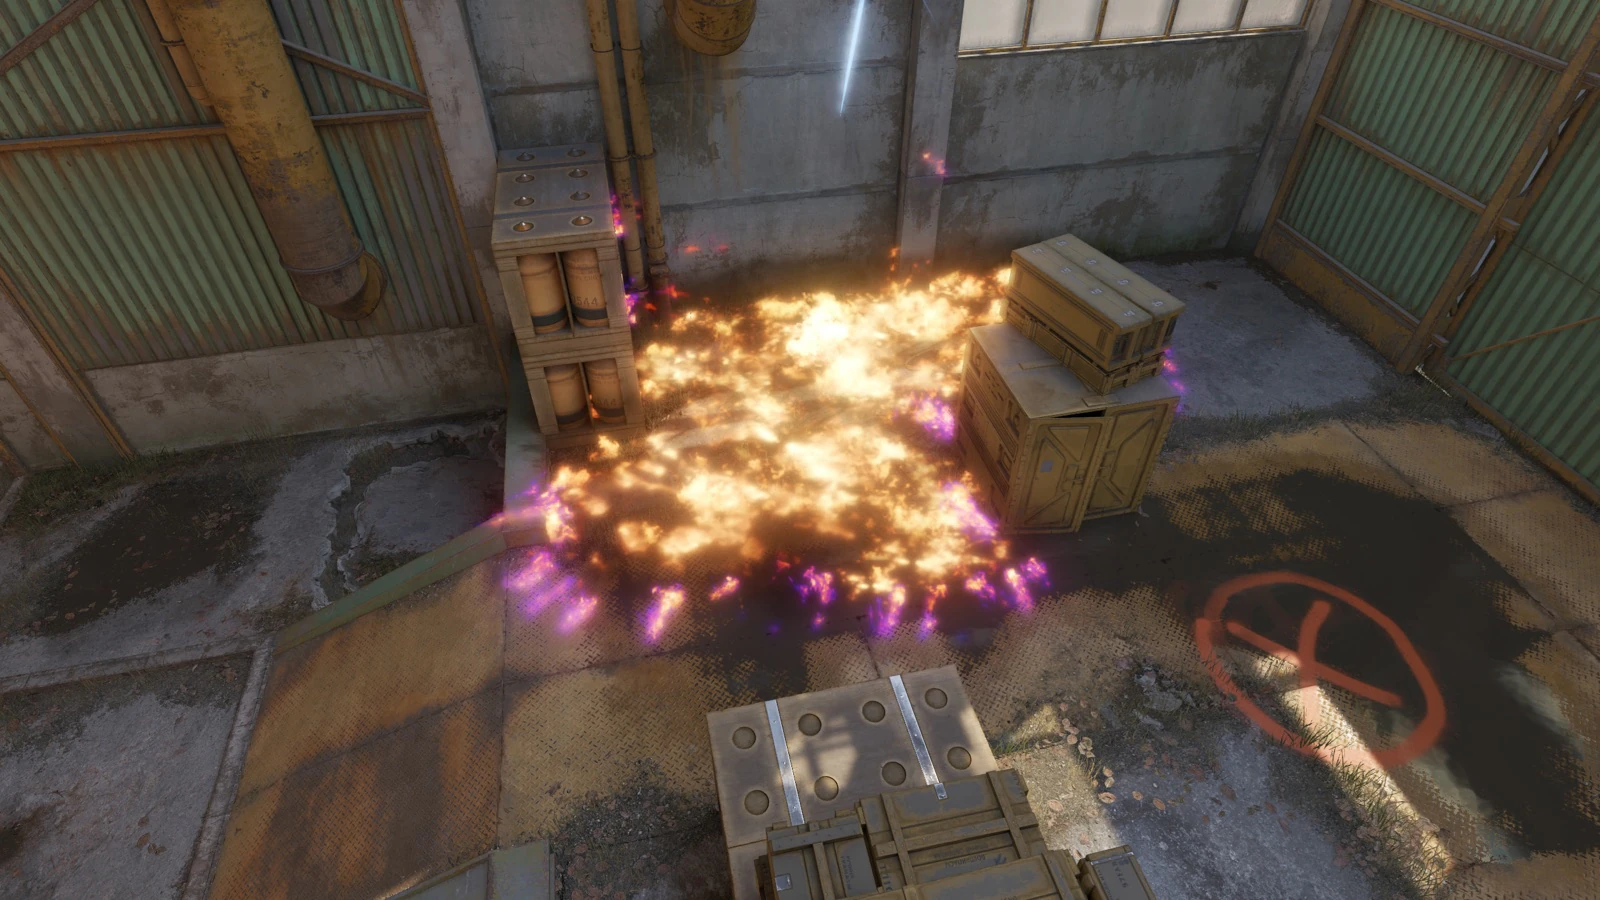
      Denies CT information on Mid and cuts the Z player out of the first fight.

Variations

  • Mid Progression (1-3-1)

    Mid Lurk Smoke · Sandbags molly · Mid flash
  • Vents Drop

    Mid Cross Left smoke · Mid Cross Right smoke
  • B Heavy (3-1-1)

Executes

  • A Execute

    A Cross smoke · Back A Site smoke
  • A Split

    Z smoke
  • B Execute

    CT smoke · Headshot + B Default molotov · B Site flash · B Heaven smoke

Utility Overview

Filter by type

Essential10

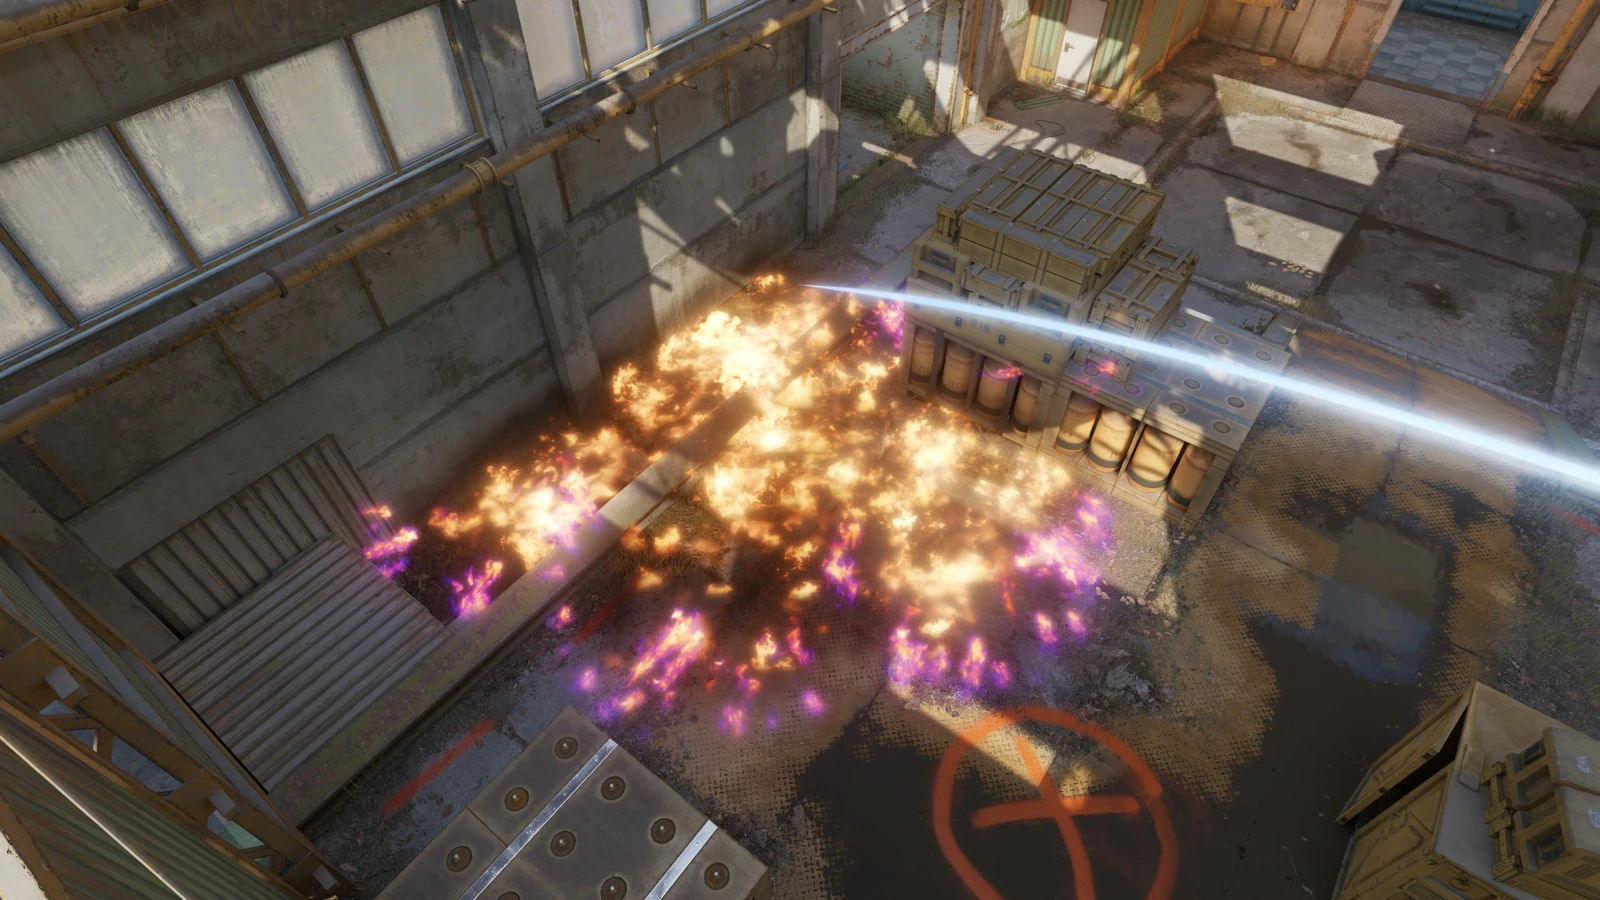
  • Cache Z smoke result from T Spawn

    Z smoke

    Smoke

    Denies CT information on Mid and cuts the Z player out of the first fight.

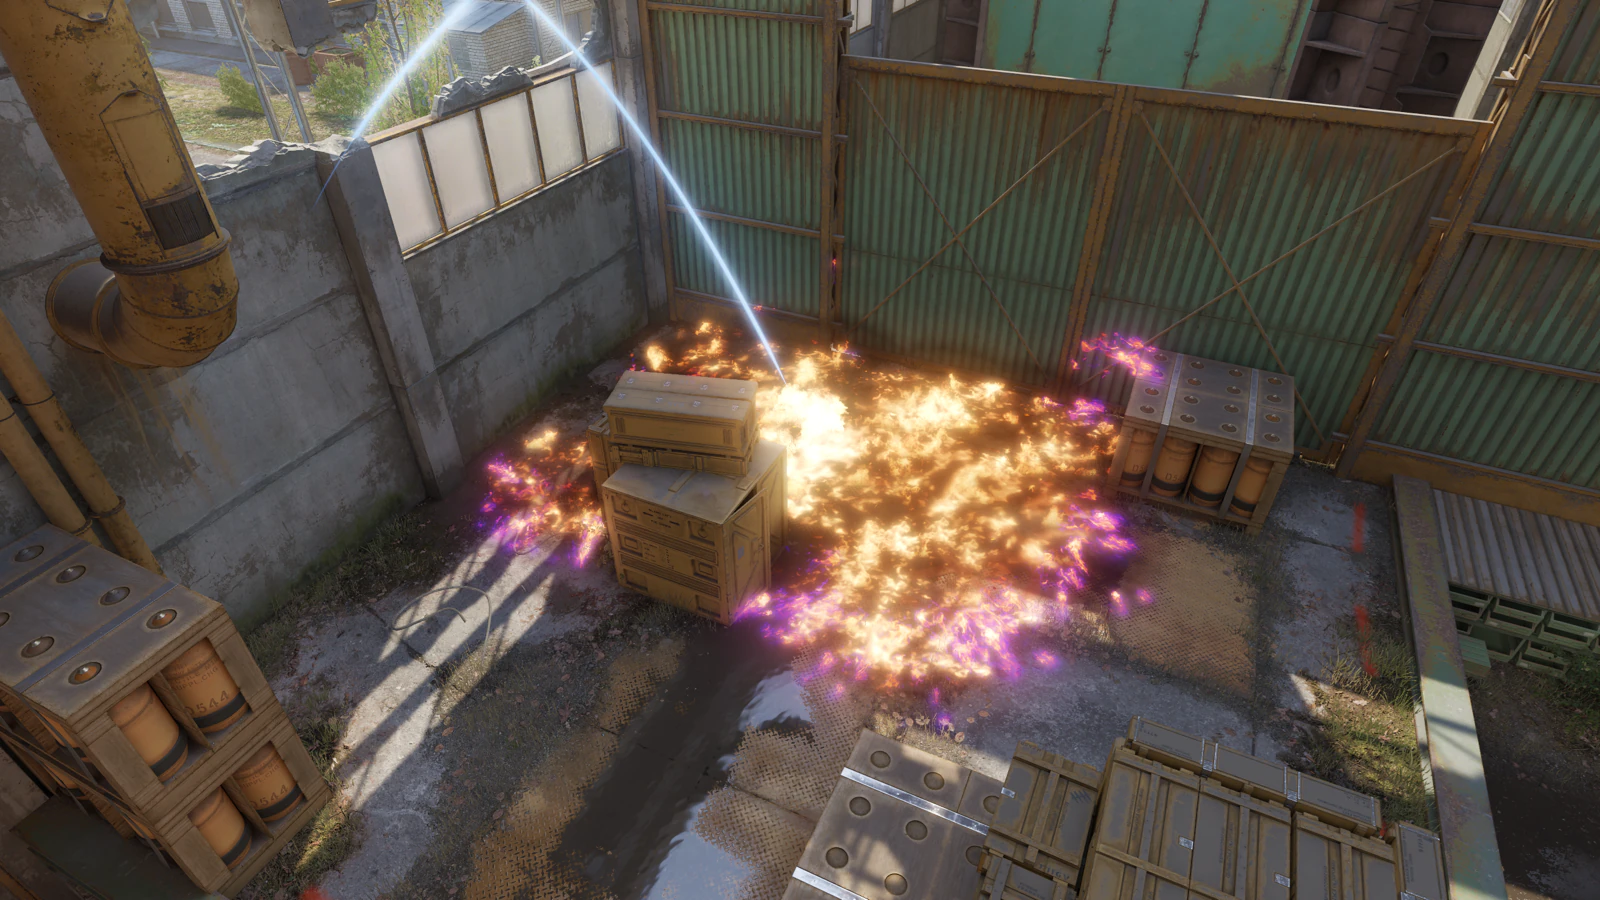
  • Cache Sandbags molly result from Outside A Main

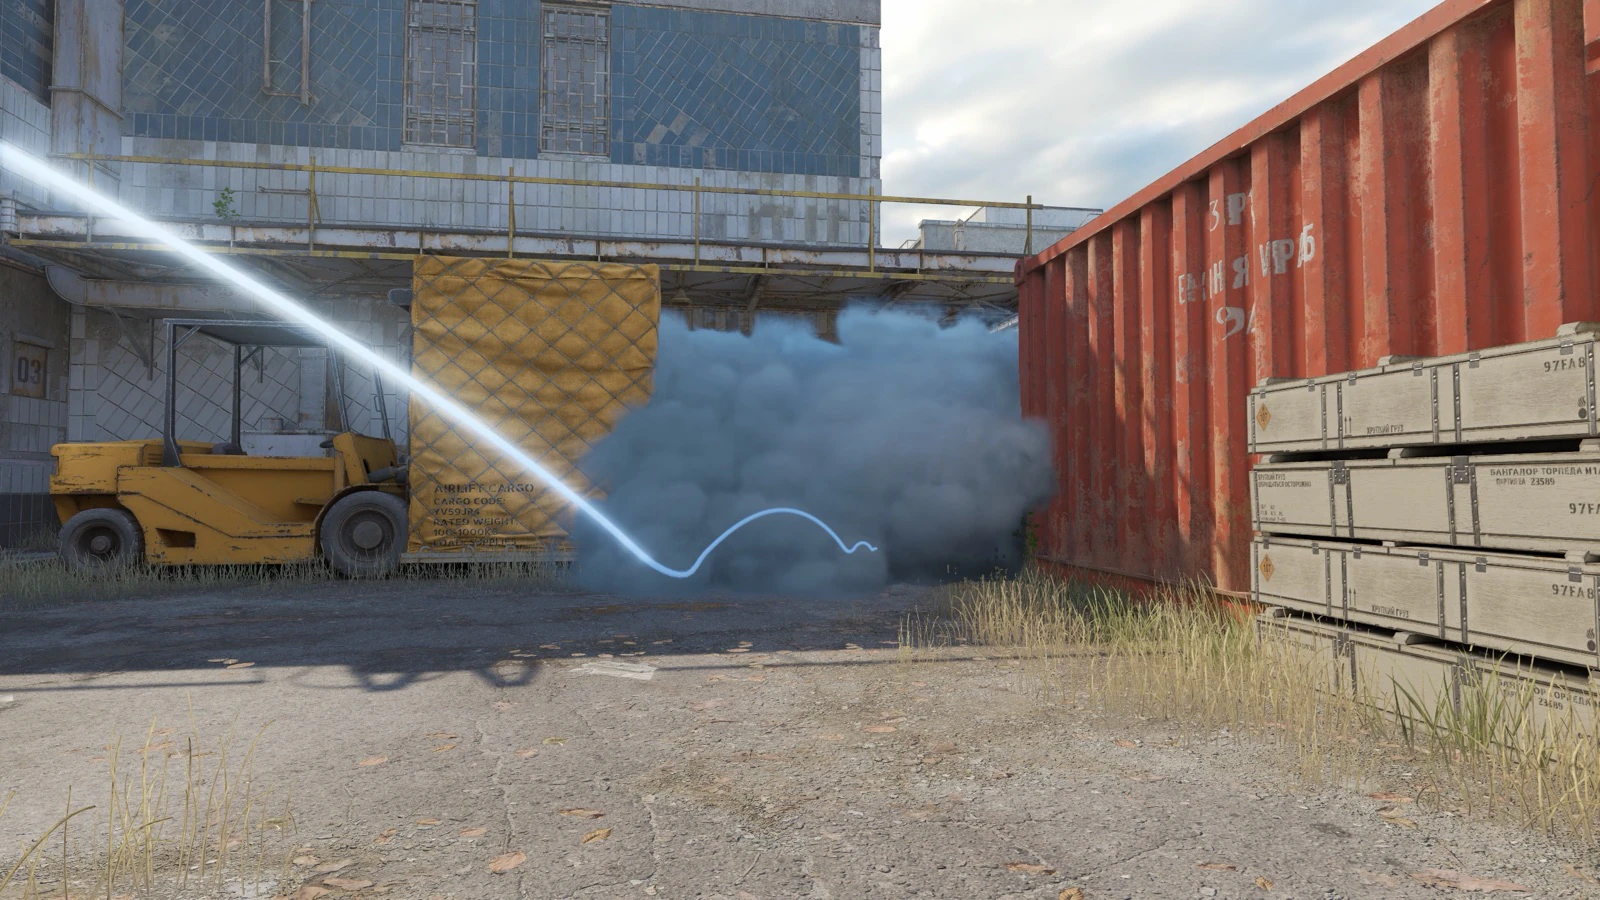
    Sandbags molly

    Molly

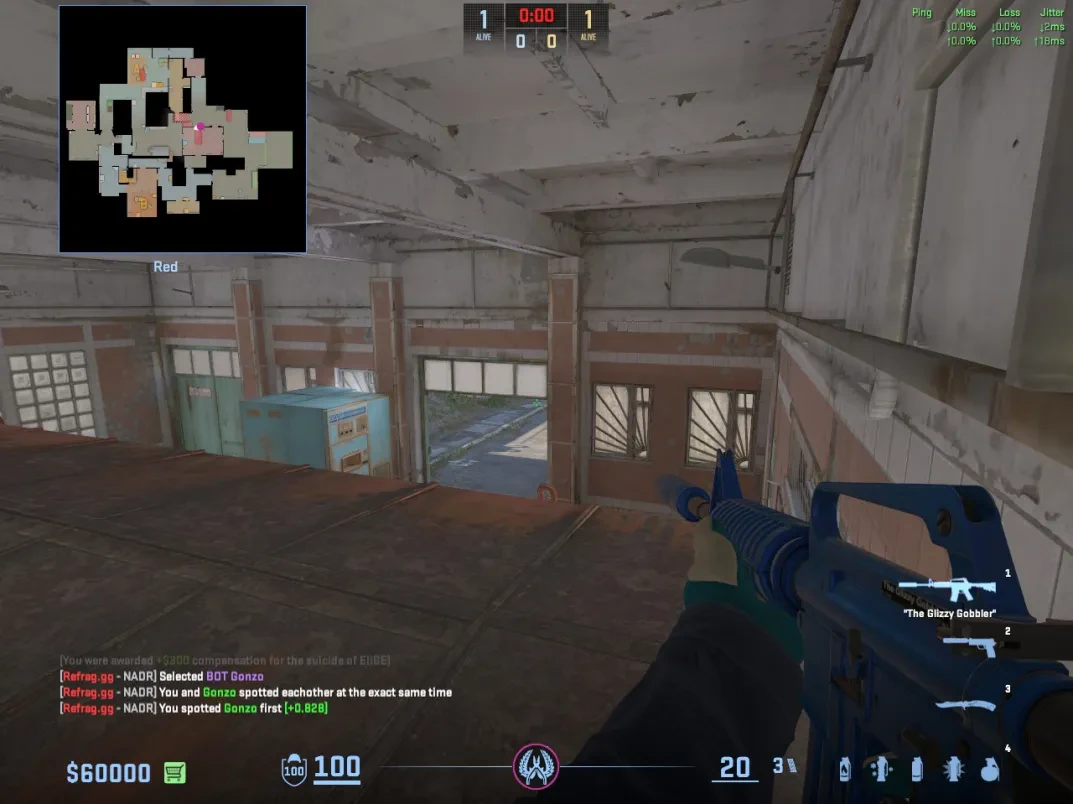
    Forces a tucked CT out of hiding so the boosted players can take the fight.

  • Cache Fork Flash result from A Main

    Fork Flash

    Flash

    Blinds the Fork player when thrown at the flat middle part of the wall from A Main.

    Open guide
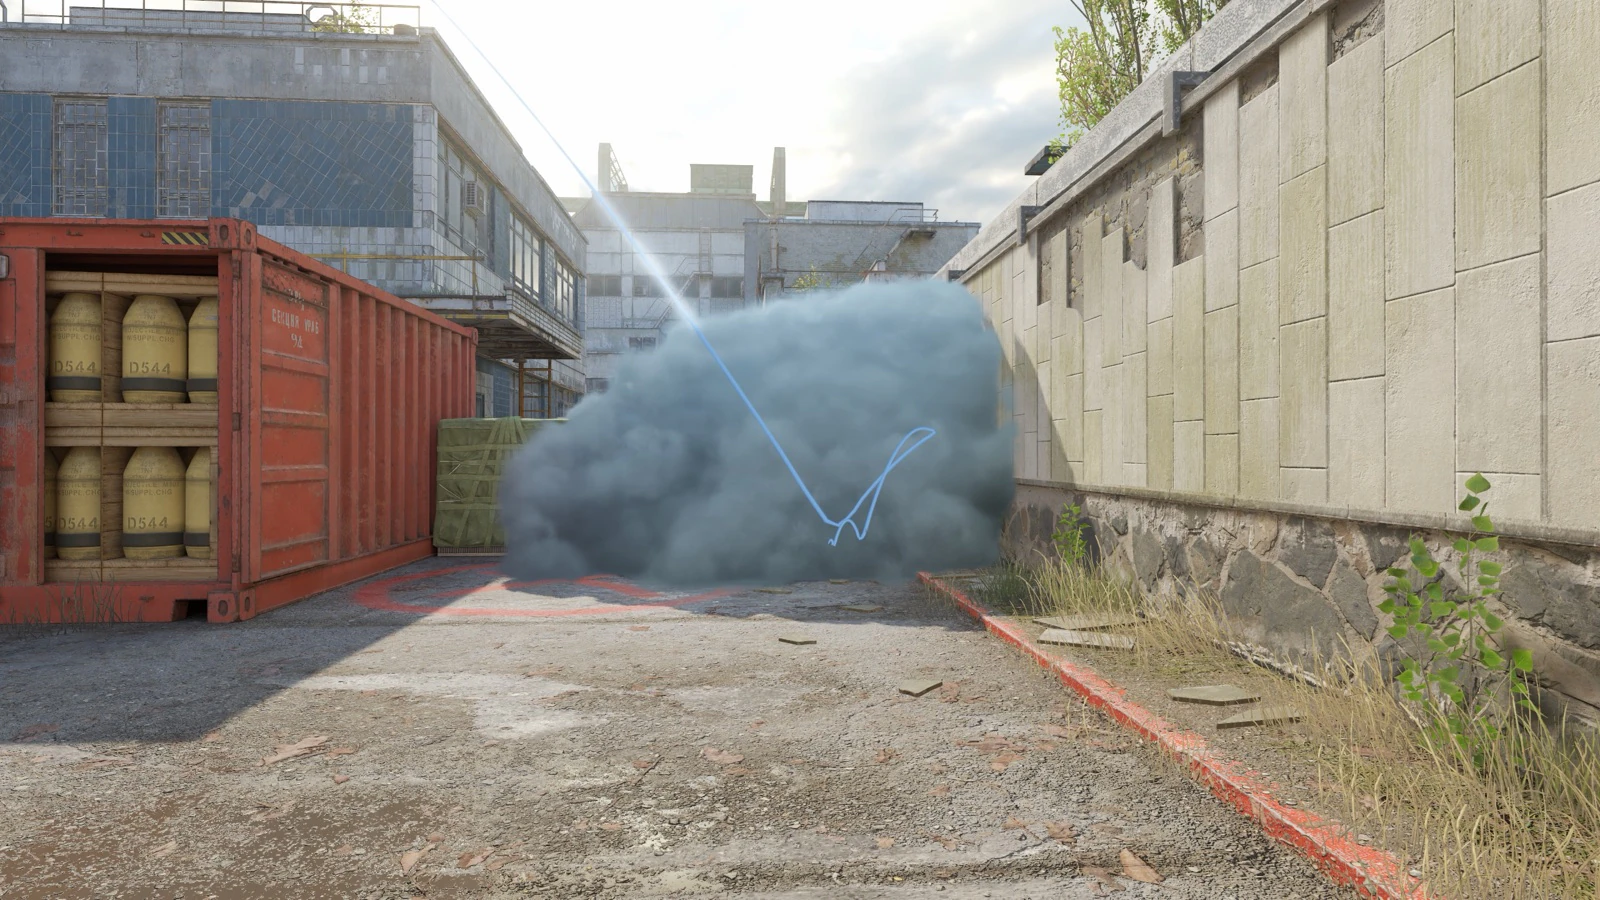
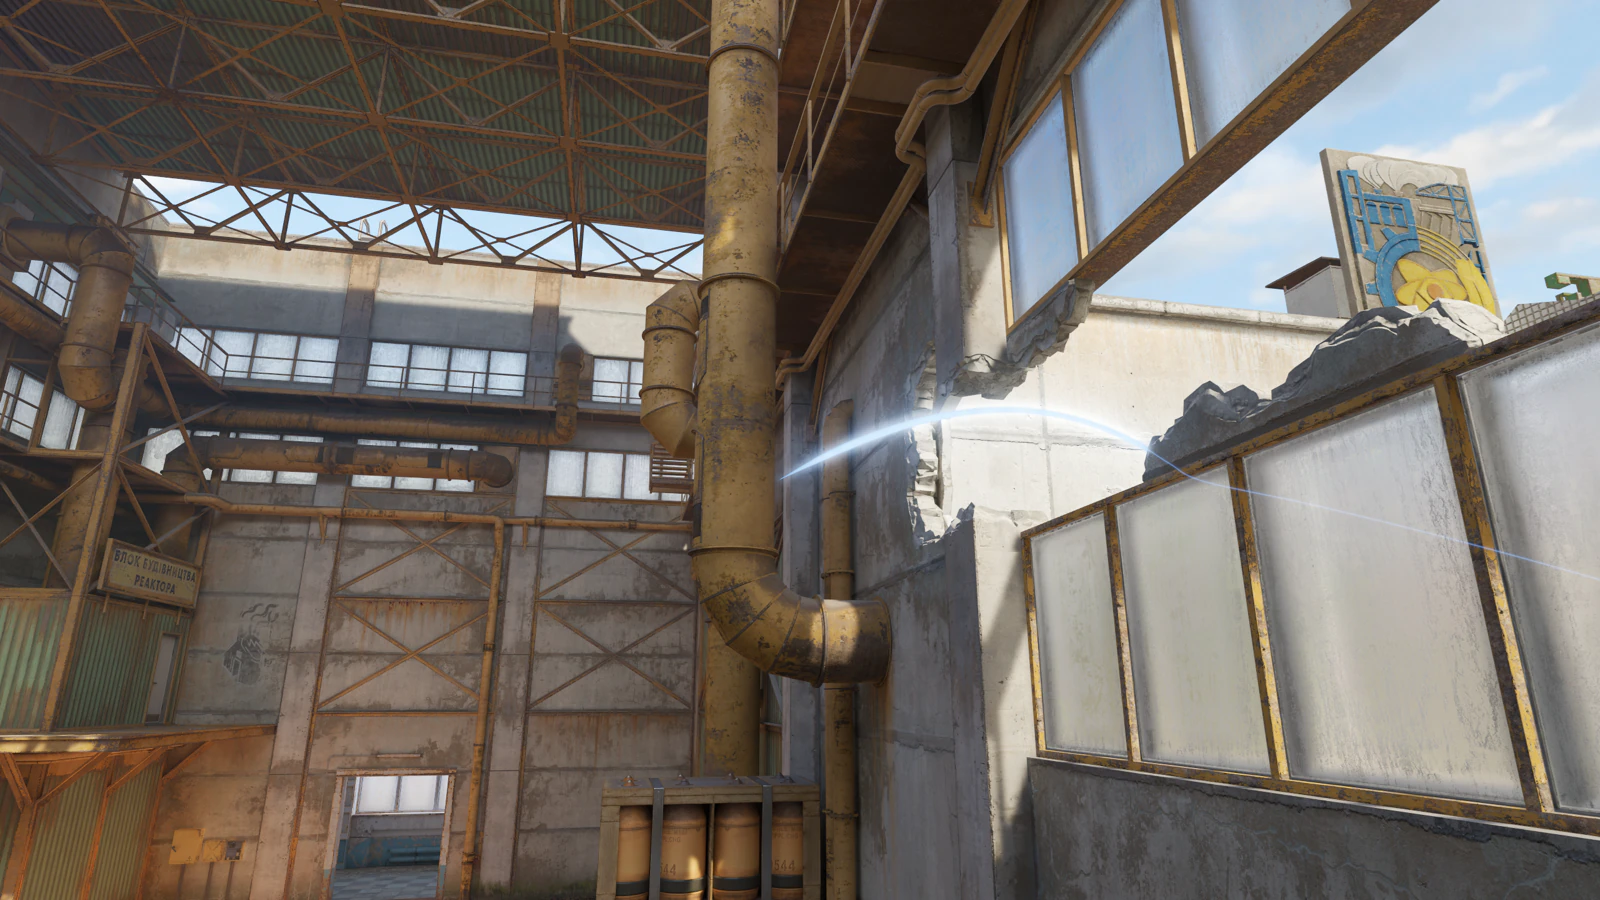
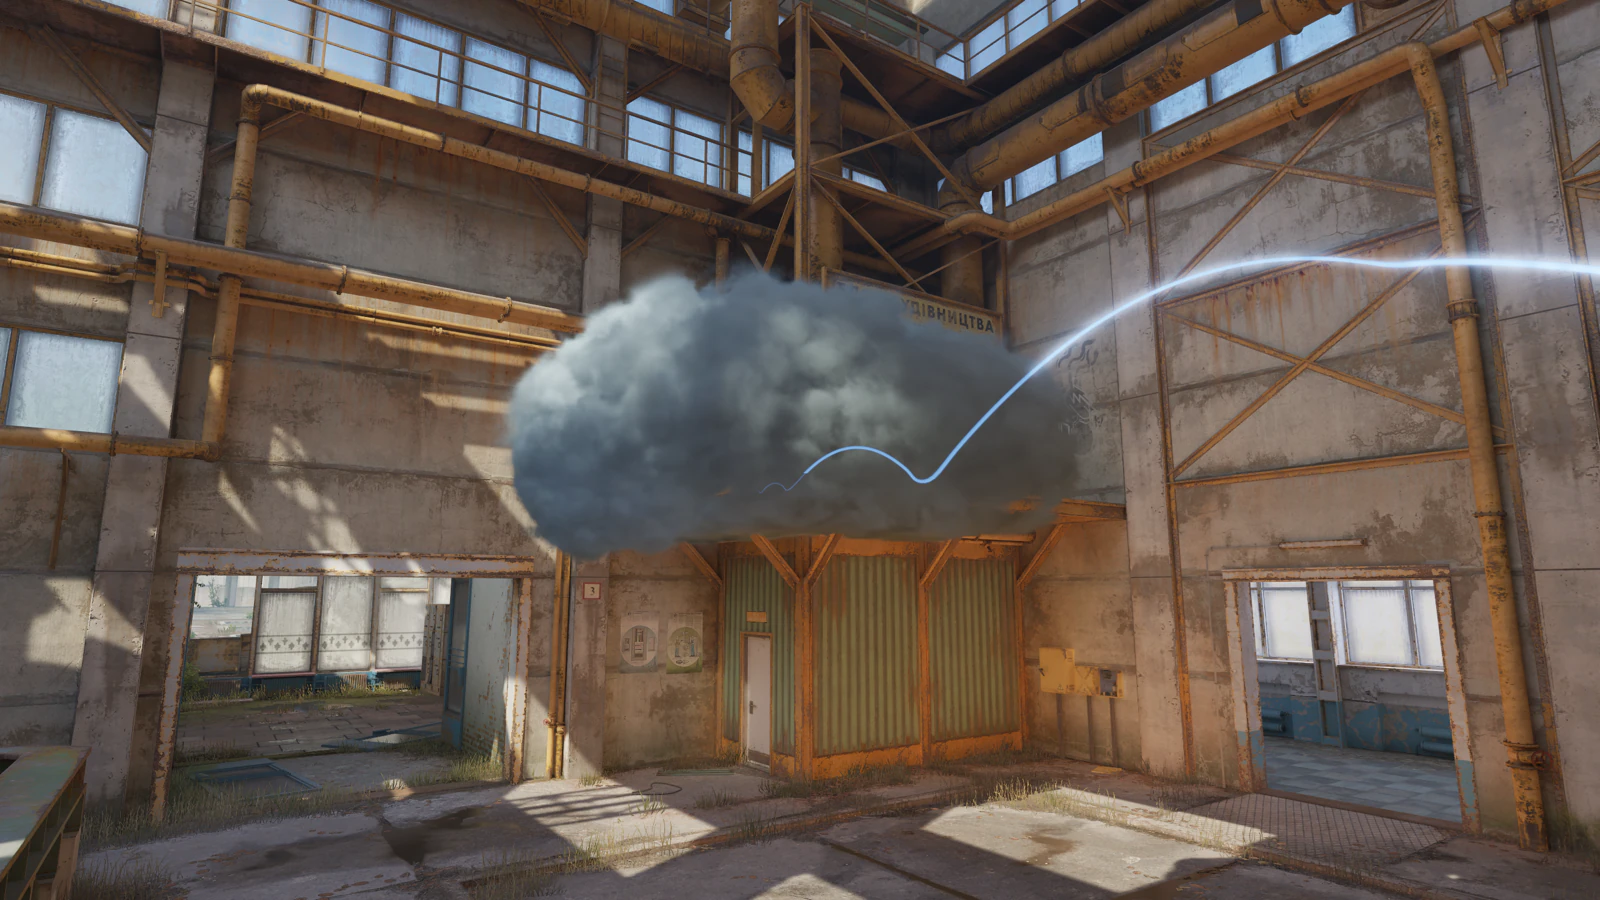
  • Cache Mid Cross Left smoke result

    Mid Cross Left smoke

    Smoke

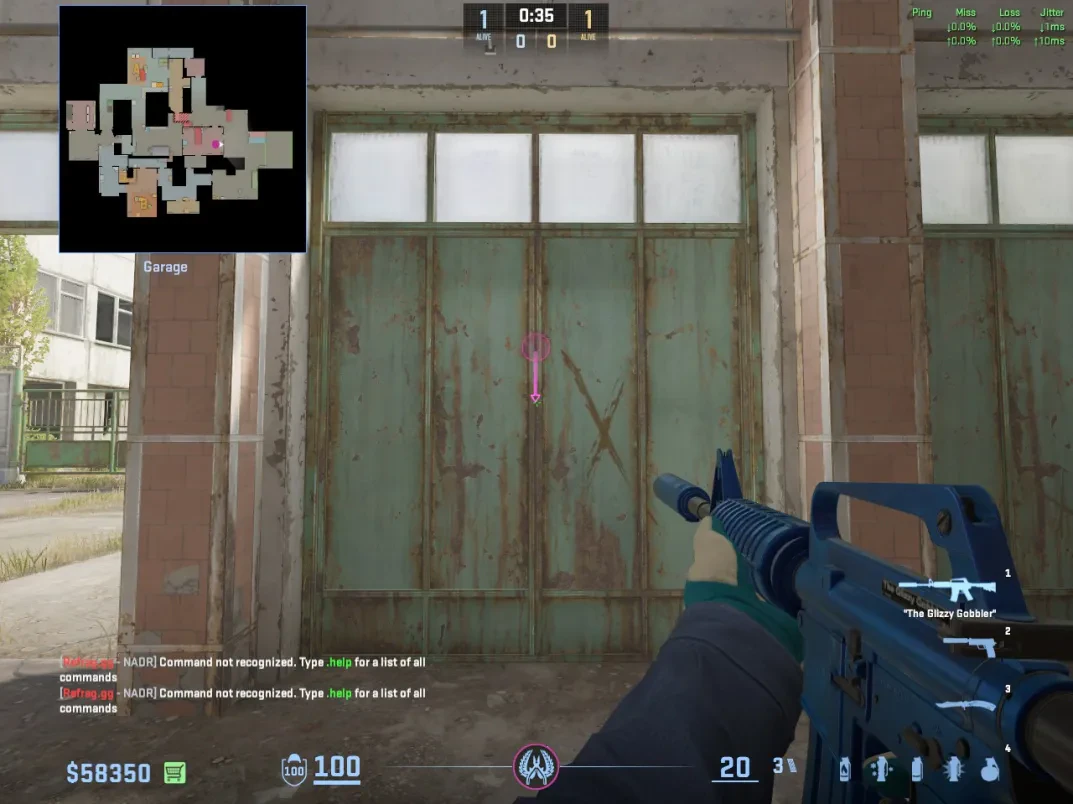
    Closes the upper Mid cross and denies Highway players the info on whether anyone crossed to Vents.

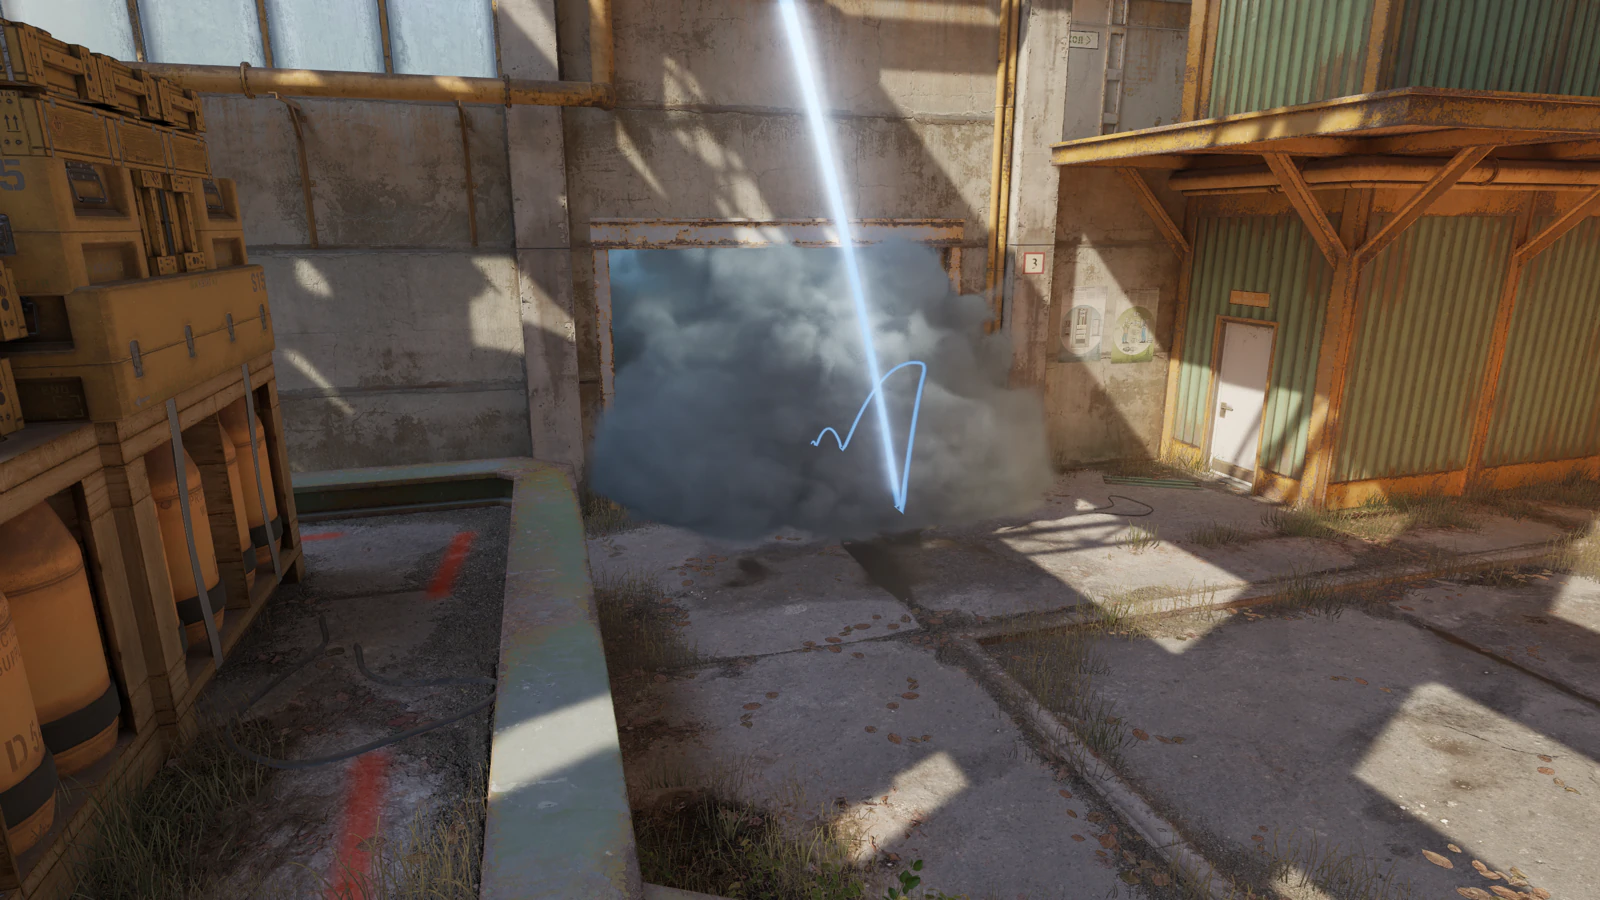
  • Cache Mid Cross Right smoke result from Garage

    Mid Cross Right smoke

    Smoke

    Pairs with the left smoke to block the lower Mid cross from Highway and Z.

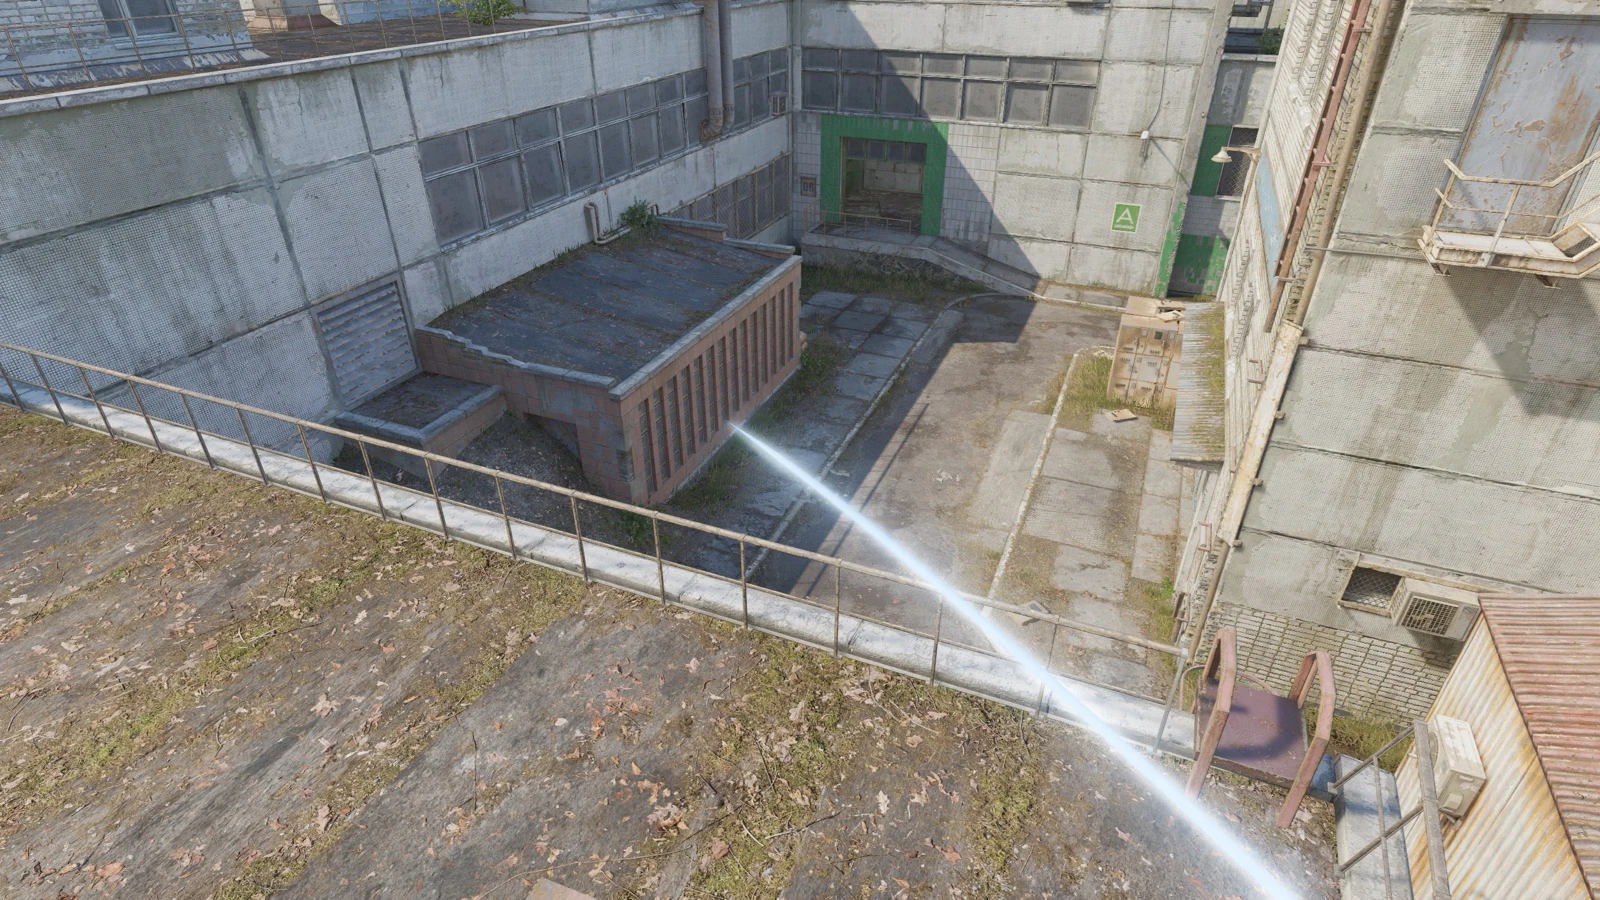
  • Cache A Cross smoke result between Red and Fork

    A Cross smoke

    Smoke

    Blocks the cross between Red and Fork so A Main players can scale into site.

  • Cache Back A Site smoke result

    Back A Site smoke

    Smoke

    Cuts off the deep A-site angle so the hit can isolate close site fights.

  • Cache B CT smoke result from Sun Room and Toxic

    CT smoke

    Smoke

    Cuts the CT Spawn lane so the B hit only has to fight site and Checkers on the first wave.

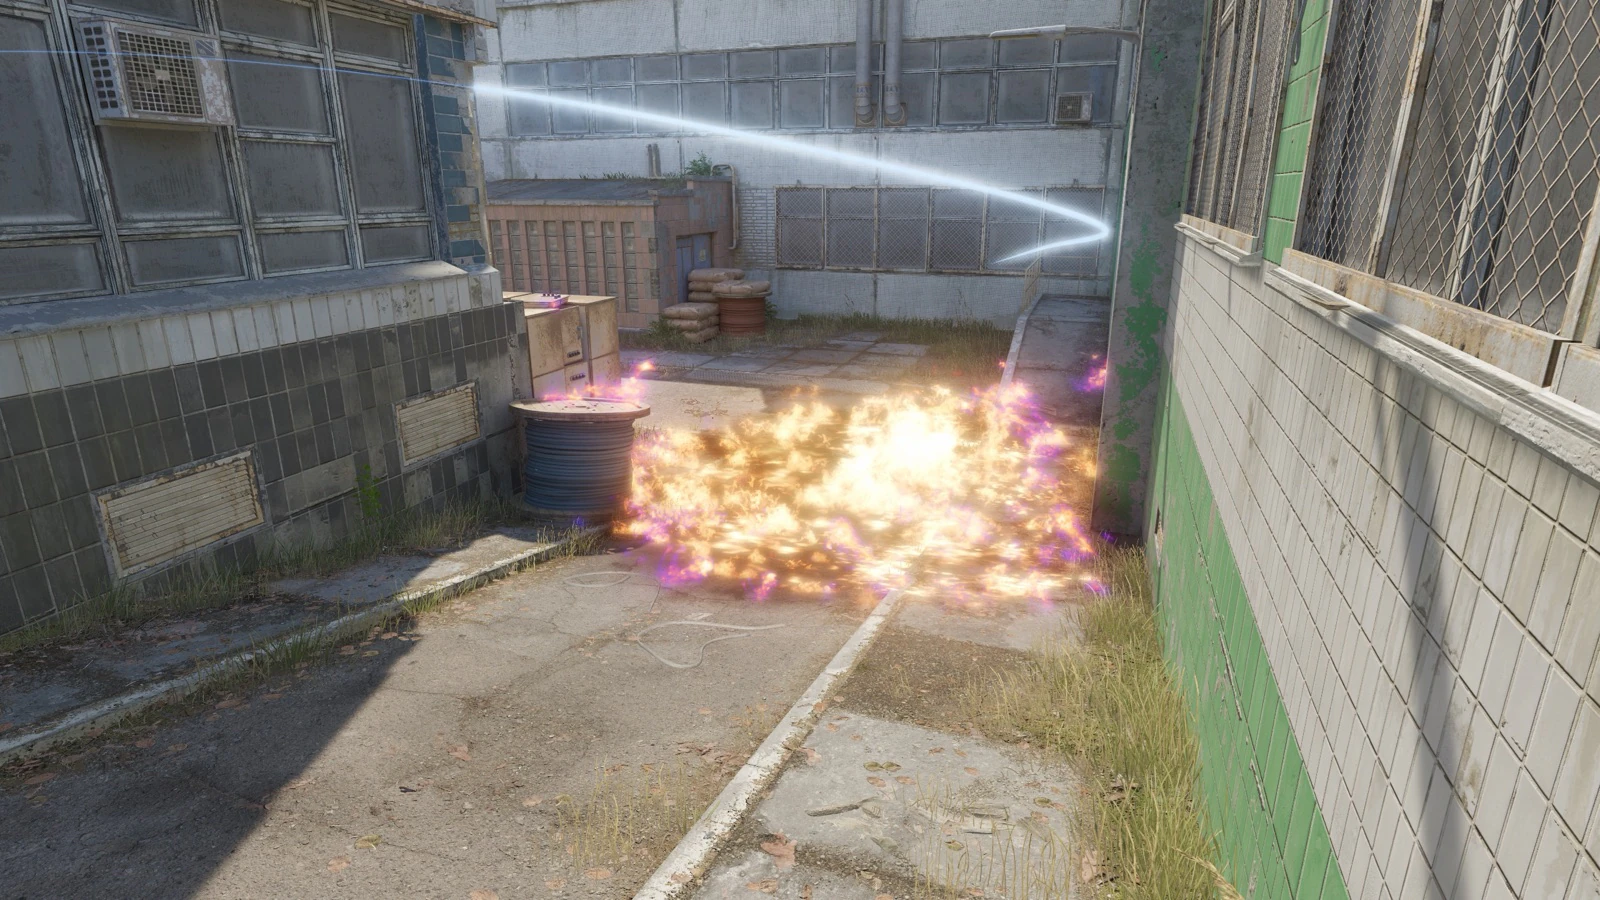
  • Cache Headshot and B Default molotov result from Sun Room and Toxic

    Headshot + B Default molotov

    Molly

    Burns the Headshot and Default pockets before the B entry commits through Main.

  • Cache B Site flash result from Sun Room and Toxic

    B Site flash

    Flash

    Flashes over the B entry timing so the anchor cannot isolate the first player out of Main.

Niche7

7 situational utilities are tucked away until needed.
Gimmicks

  • White Box Spam

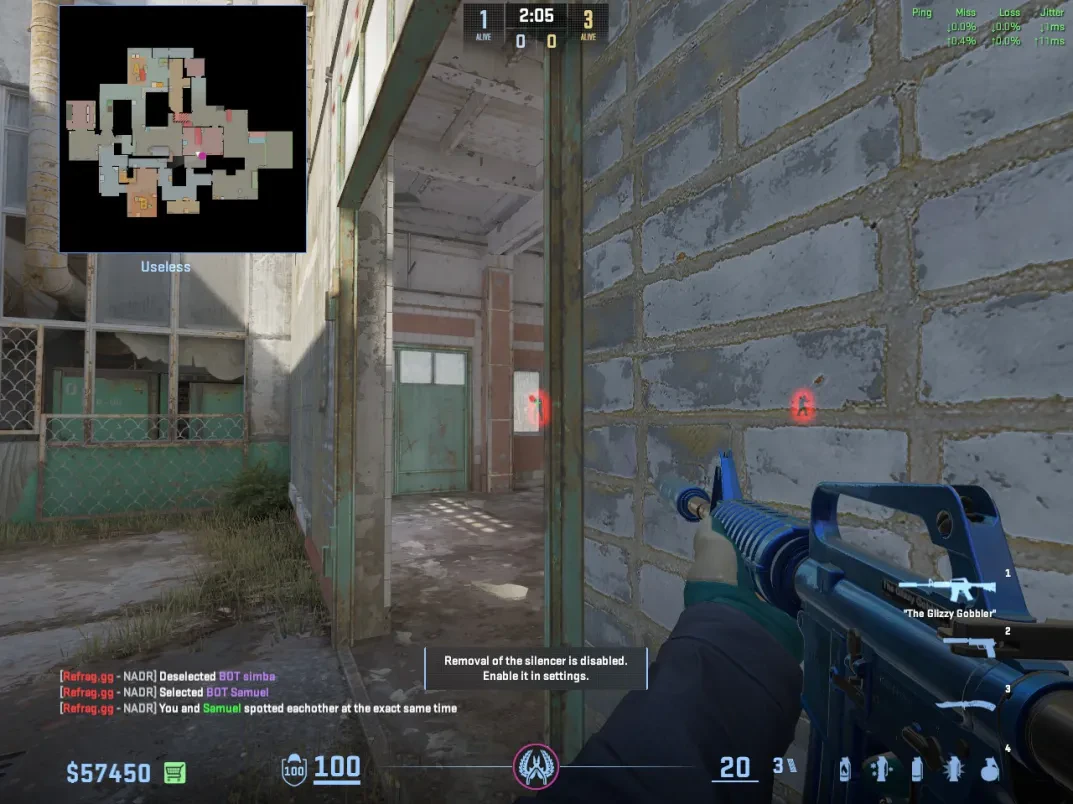
  • Garage Boost

  • Z Spam

Duties

IGL Guide

  1. Round Start

  2. Mid Round

  3. End Round