Cave smoke lands: warn Middle
1When Cave is smoked off, have Cave warn Middle immediately so Middle stops treating Shelf as covered.
Video · 1:36When zoomed, focus the map and use the arrow keys to pan. Press Home or Escape to fit the whole map. Scroll over the map or pinch to zoom. Move the pointer outside the map to scroll the page.
Ancient CTs win the information battle by coordinating Mid and B, keeping Donut and Cave connected, and avoiding rotations based on noise alone.
1When Cave is smoked off, have Cave warn Middle immediately so Middle stops treating Shelf as covered.
Video · 1:362When Ts can cross into House, have Middle call it and smoke Donut on contact so A stays protected from a split and the defense gains time to rotate.
Video · 12:493When Mid or A is under pressure and B goes quiet, have Cave join B Anchor for a Ramp push to find information.
Video · 4:404When Ts show Cave and Ramp together, have the B pair commit to Cave or Ramp as one fight and block the other lane with a smoke or molotov.
Video · 27:38When zoomed, focus the map and use the arrow keys to pan. Press Home or Escape to fit the whole map. Scroll over the map or pinch to zoom. Move the pointer outside the map to scroll the page.
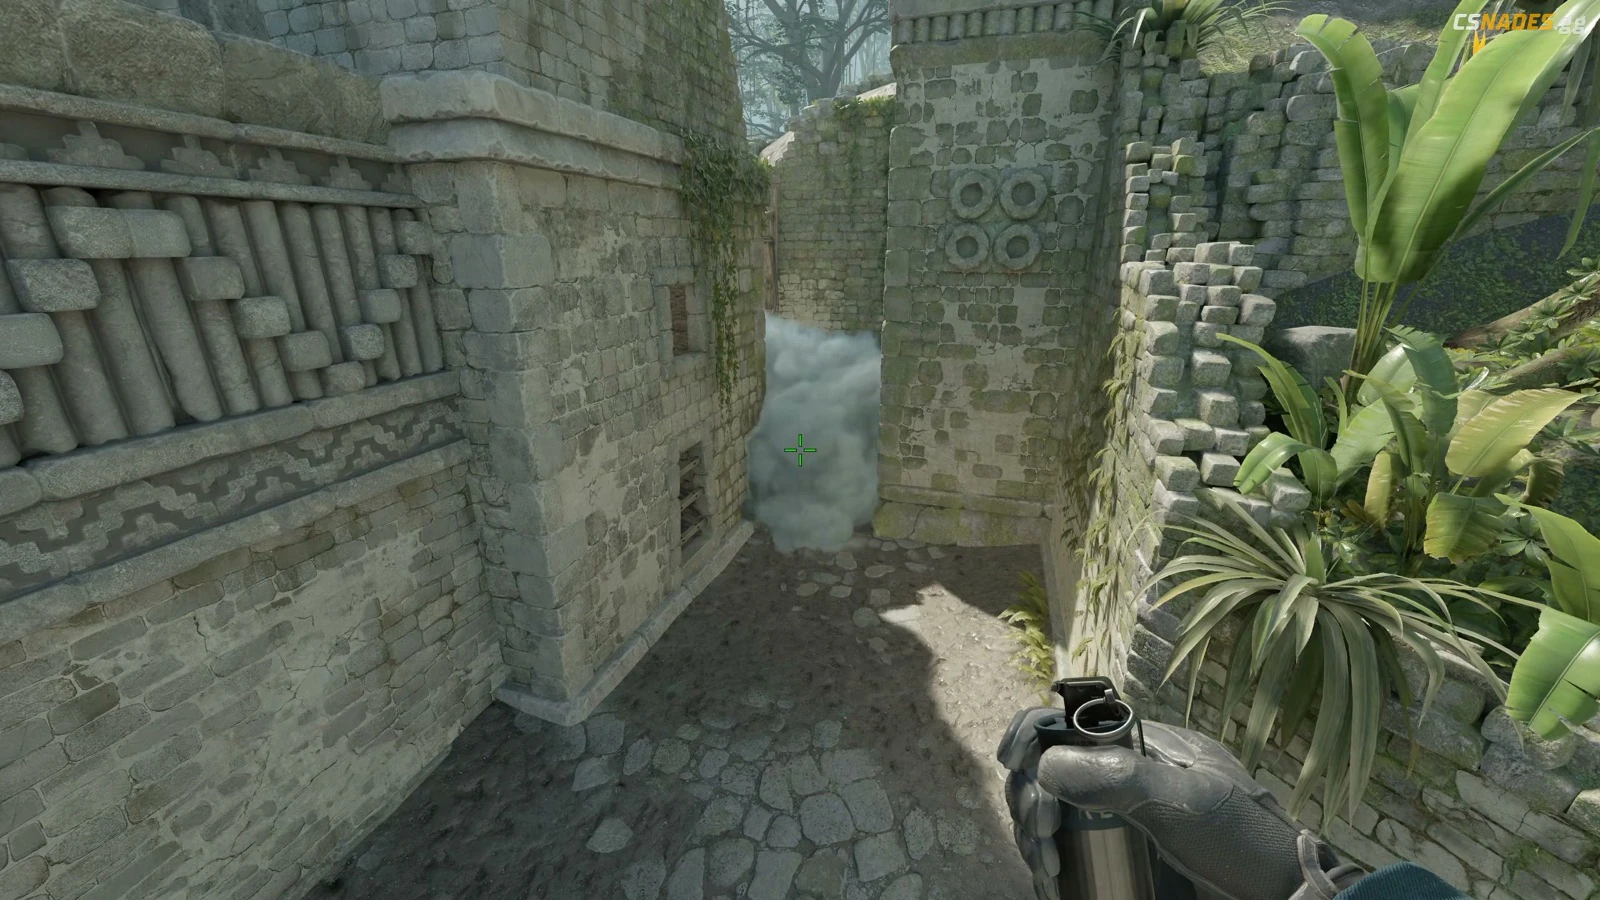
Blocks the fastest T Mid path so CTs can decide whether to fight Red room, hold Donut, or fall back with information.
Lineups
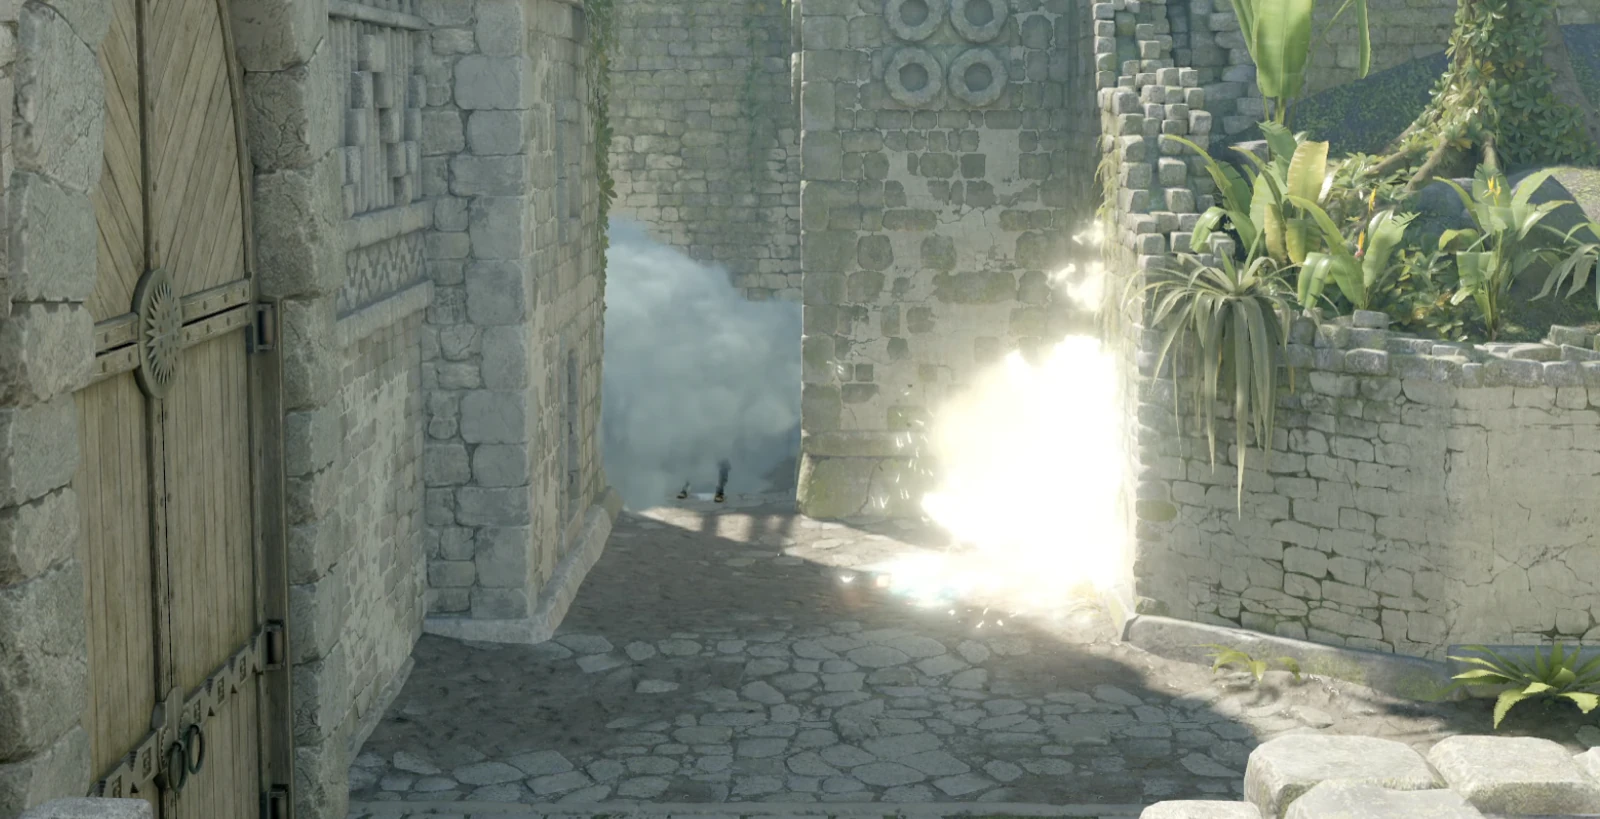
Burns the Mid lane behind the instant smoke so Ts cannot comfortably wait out the first layer of denial.
Lineups
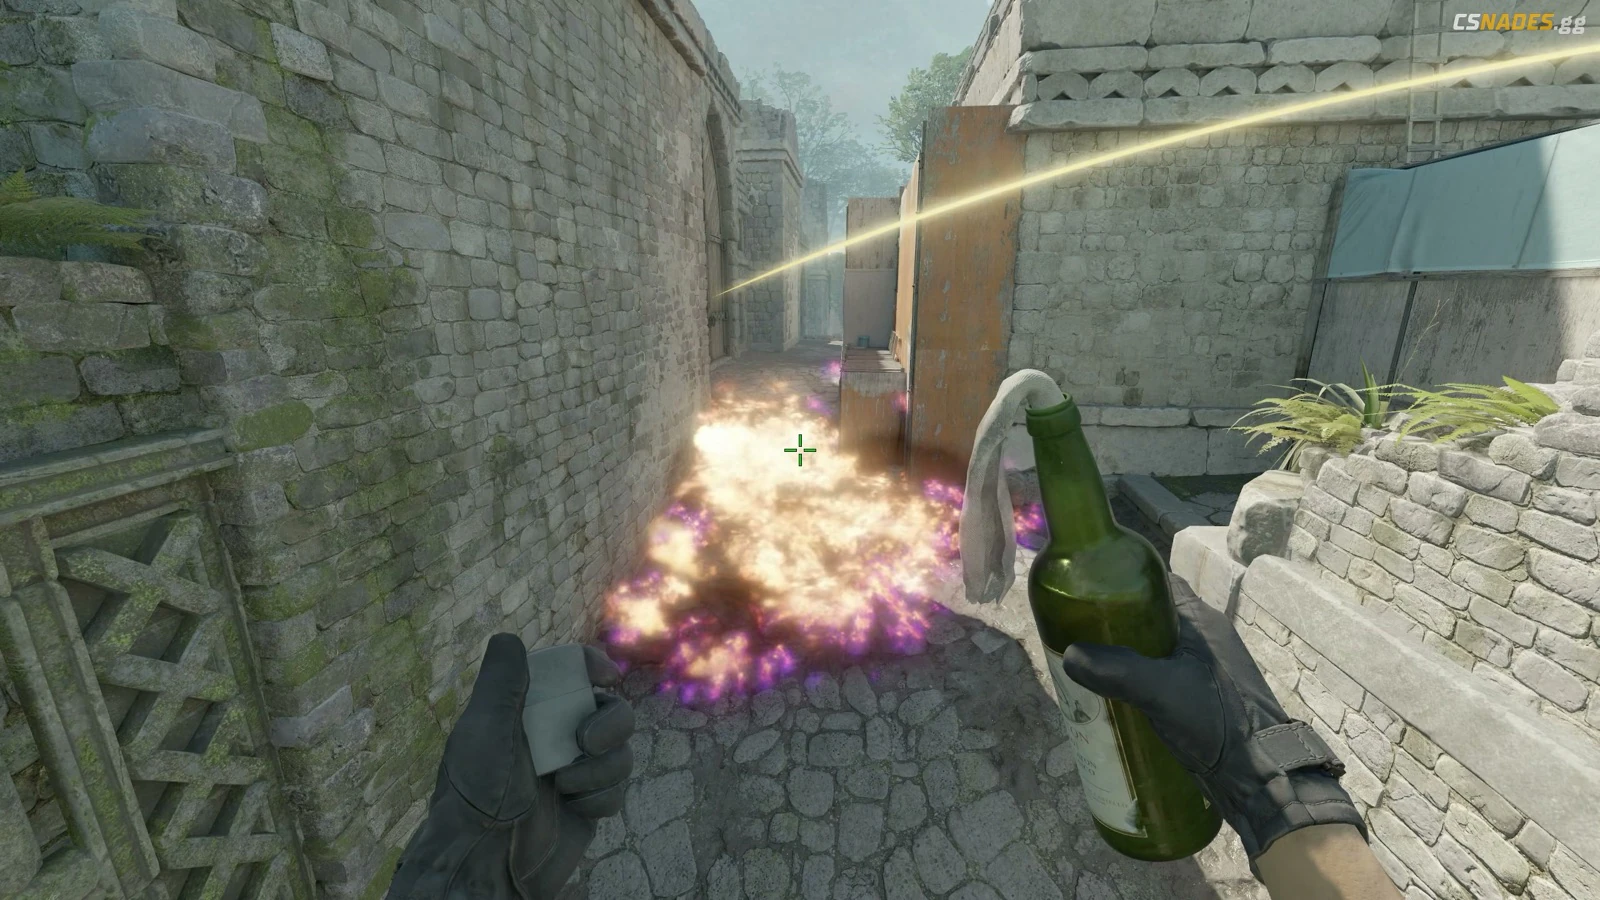
Burns the Mid Catwalk route so Donut and B support are not forced to fight the split timing dry.
Lineups
TBD
Blocks the fastest T Mid path so CTs can decide whether to fight Red room, hold Donut, or fall back with information.
Lineups
Burns the Mid lane behind the instant smoke so Ts cannot comfortably wait out the first layer of denial.
Lineups
Burns the Mid Catwalk route so Donut and B support are not forced to fight the split timing dry.
Lineups
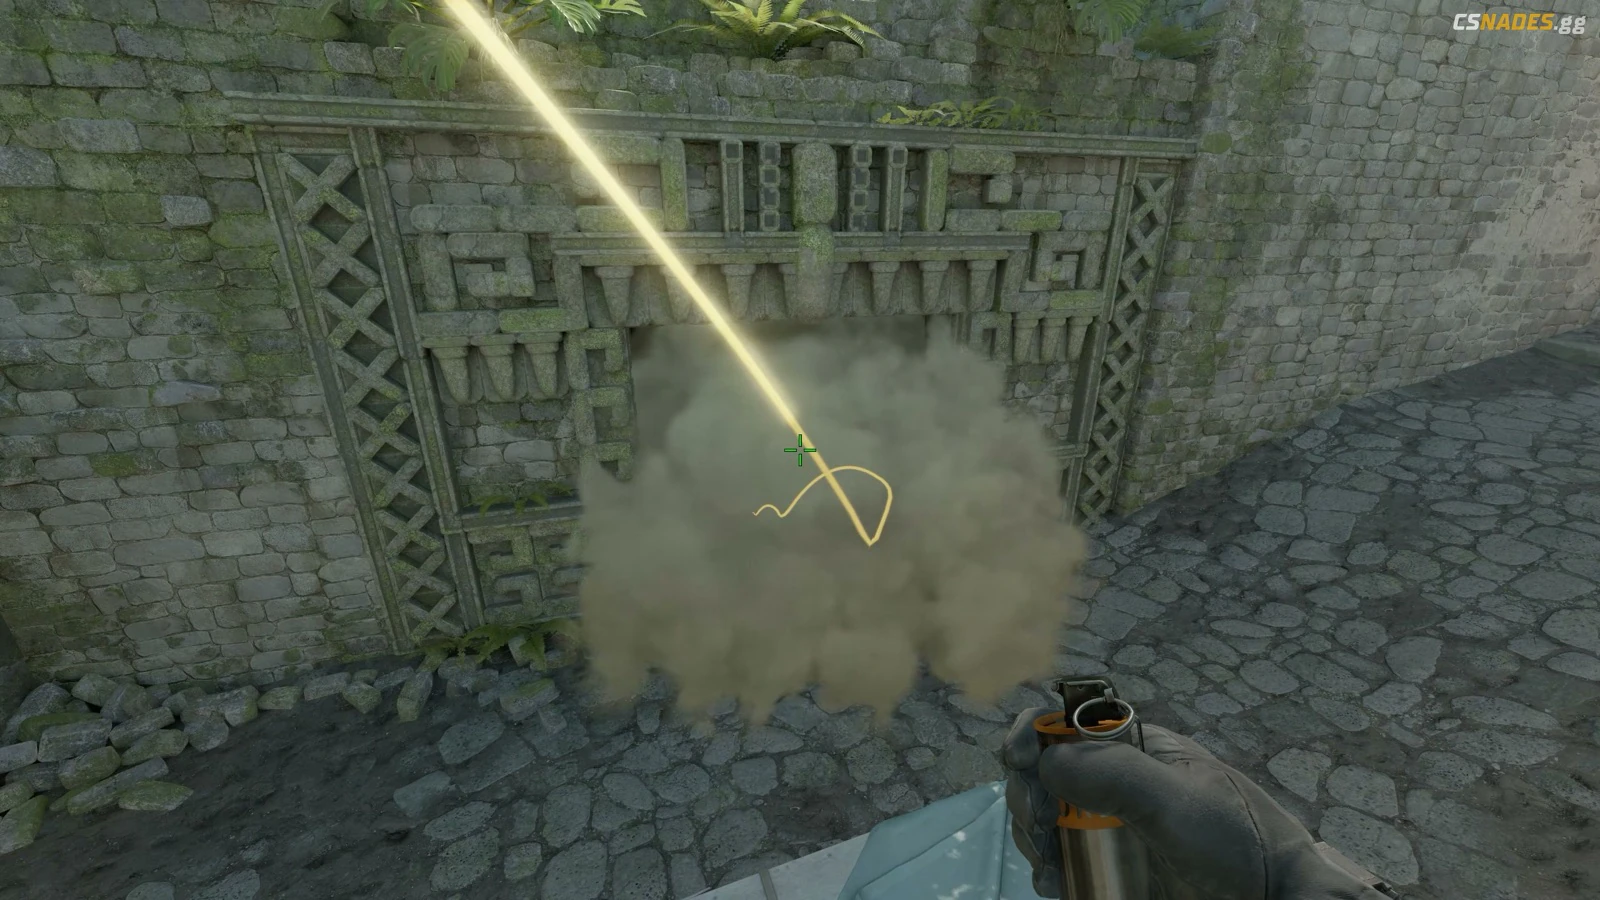
Denies the B lane split timing and keeps the B anchor from being isolated by Cave plus Short pressure.
Lineups
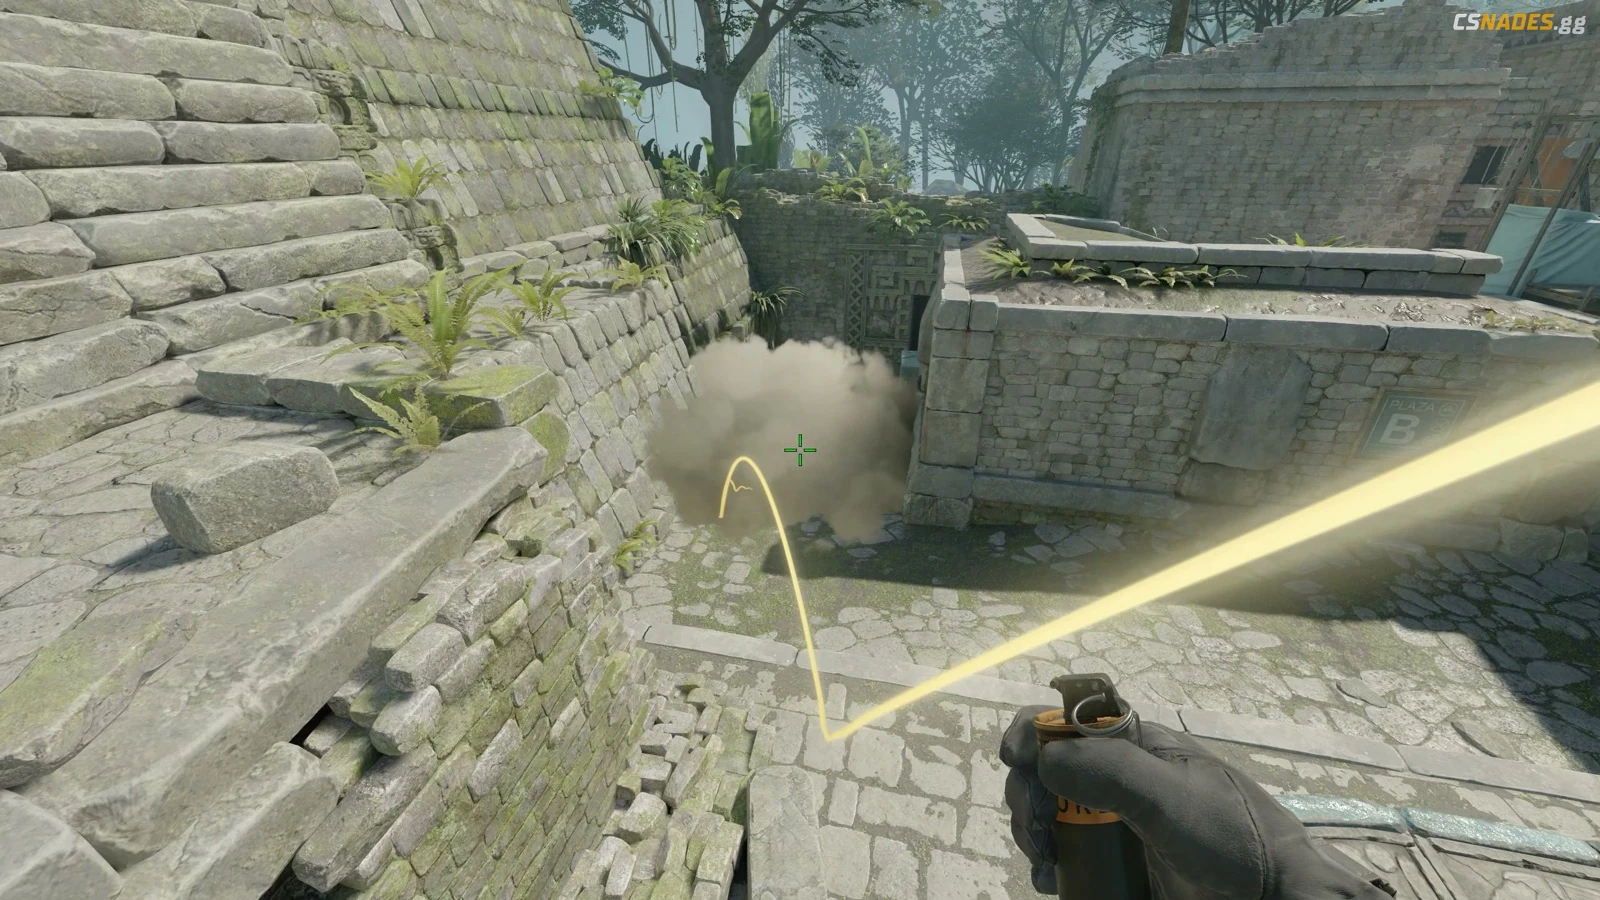
Lineups
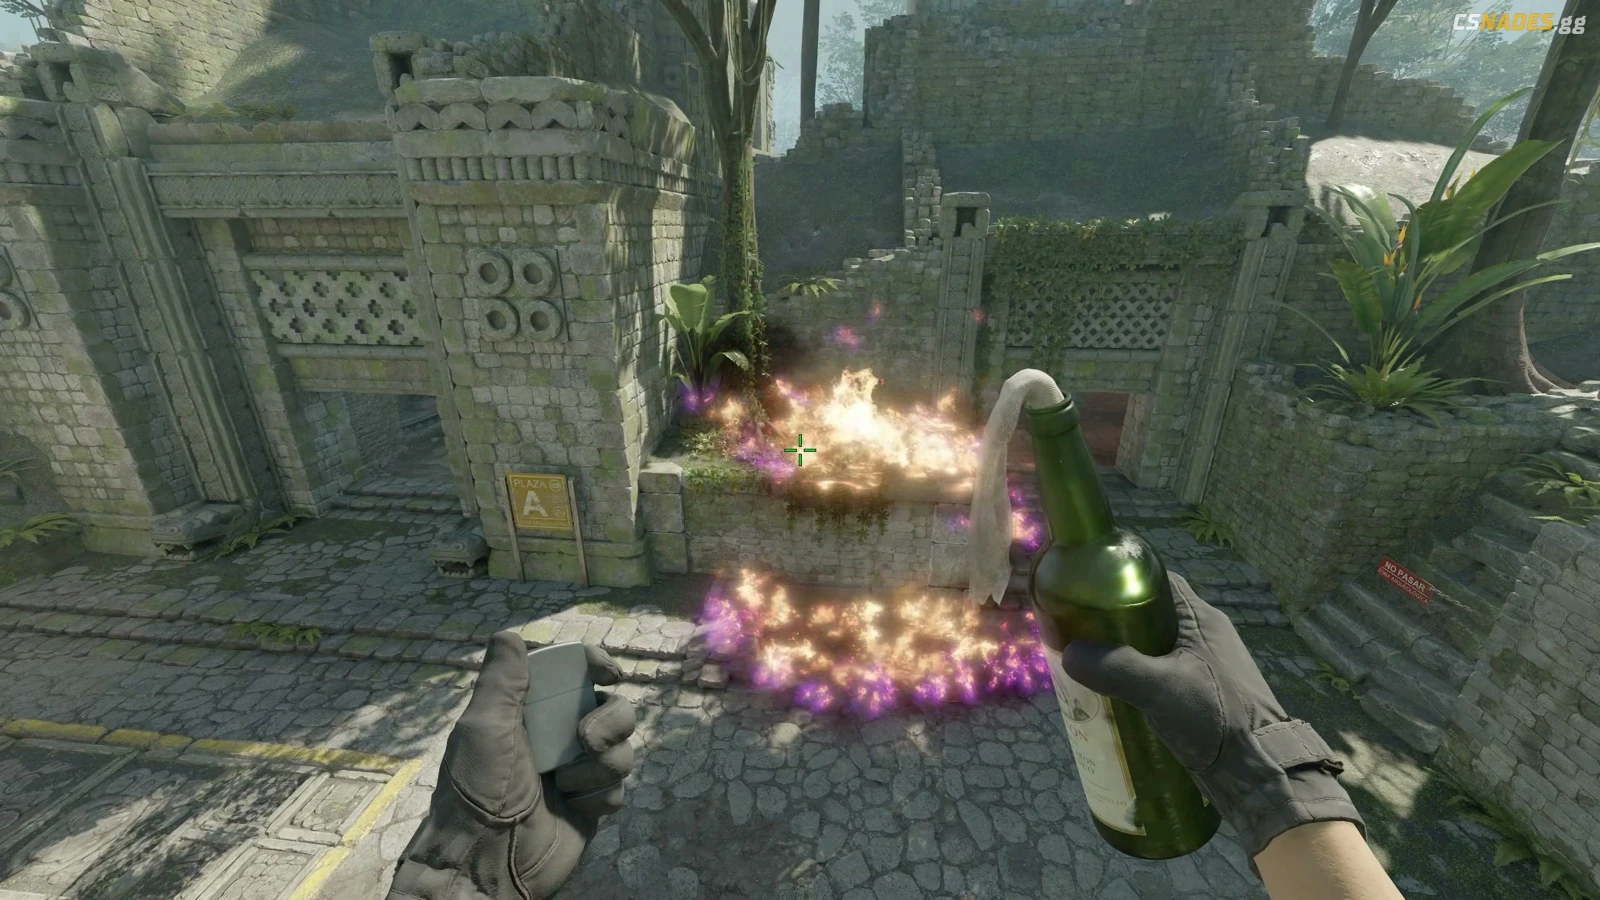
Lineups
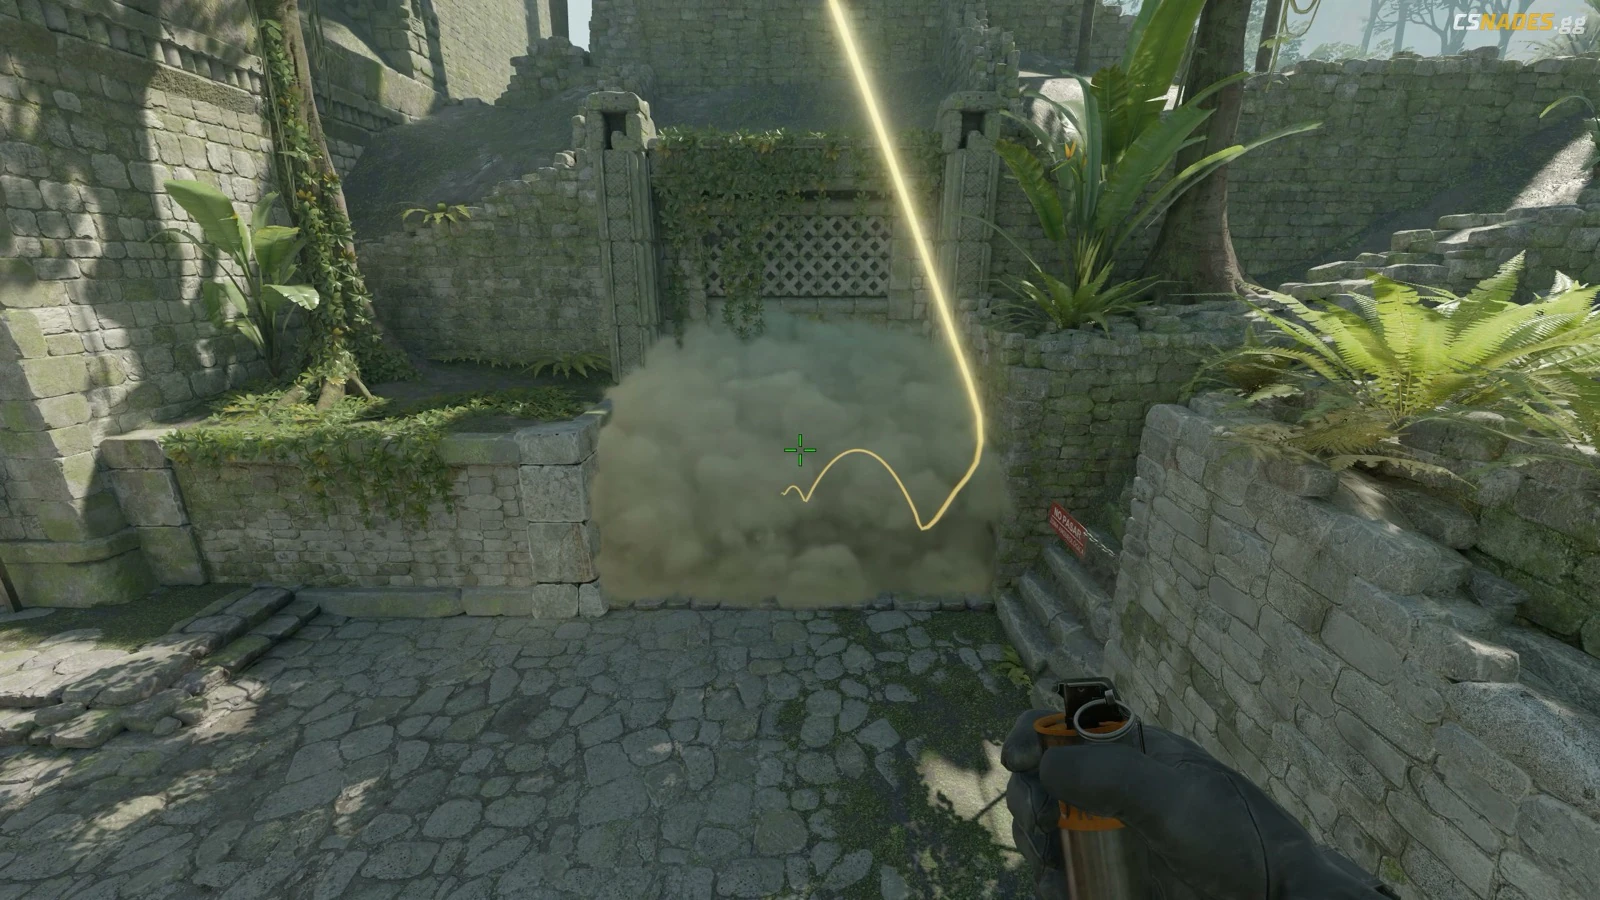
Slows the A Main pack and gives Donut support enough time to read whether the A pressure is paired with Mid.
Lineups
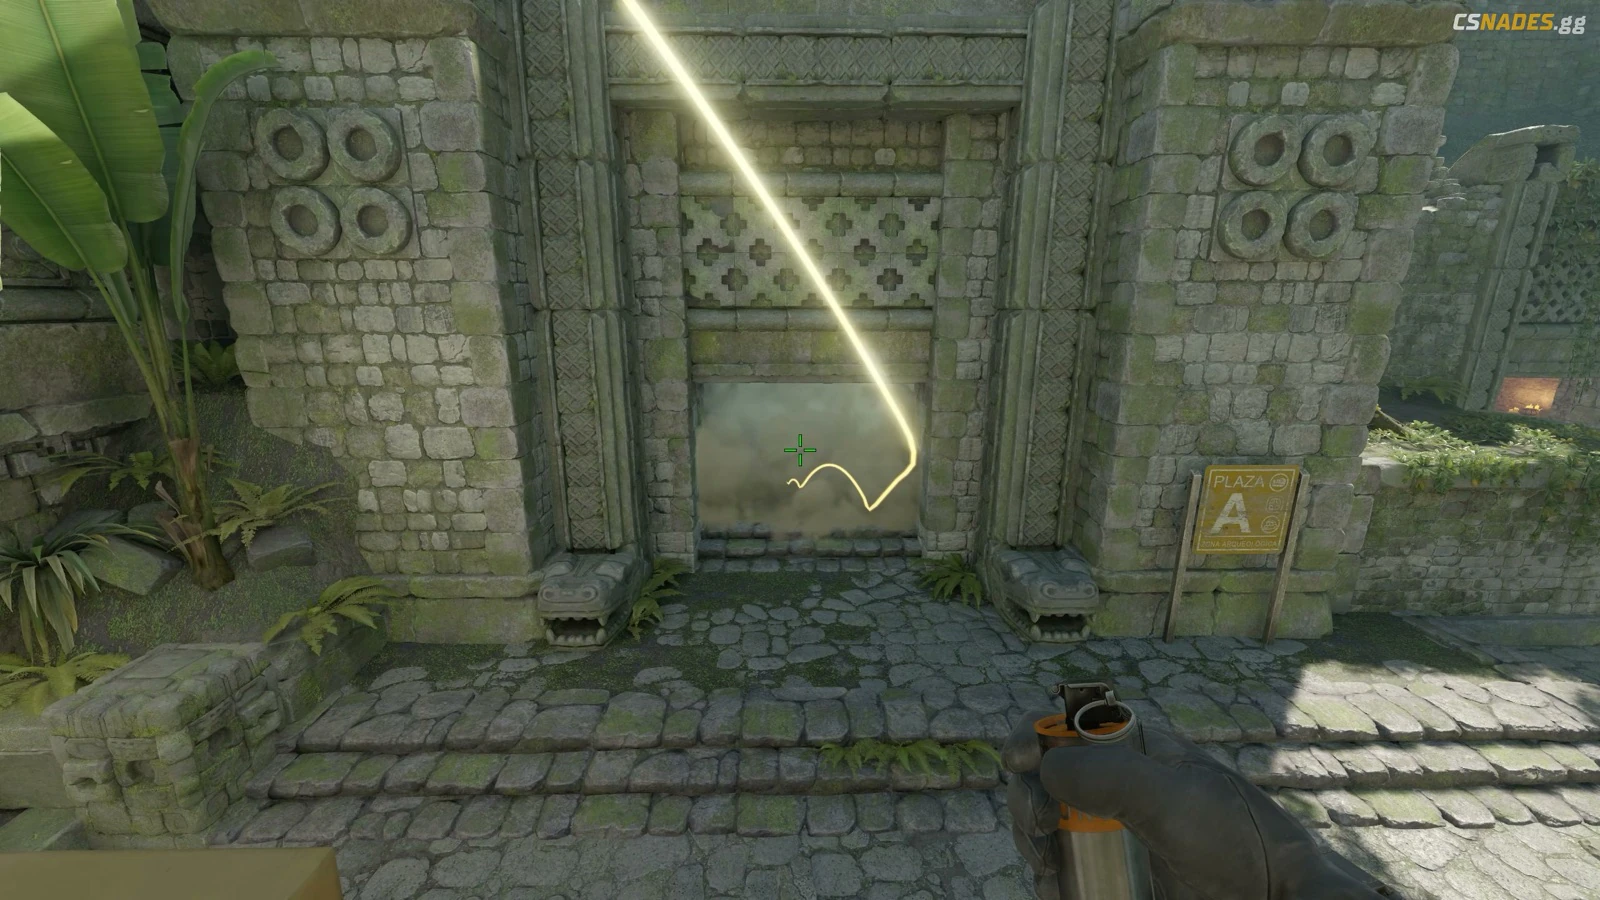
Cuts the Donut split lane so A can be held or retaken without fighting A Main and Donut at the same time.
Lineups
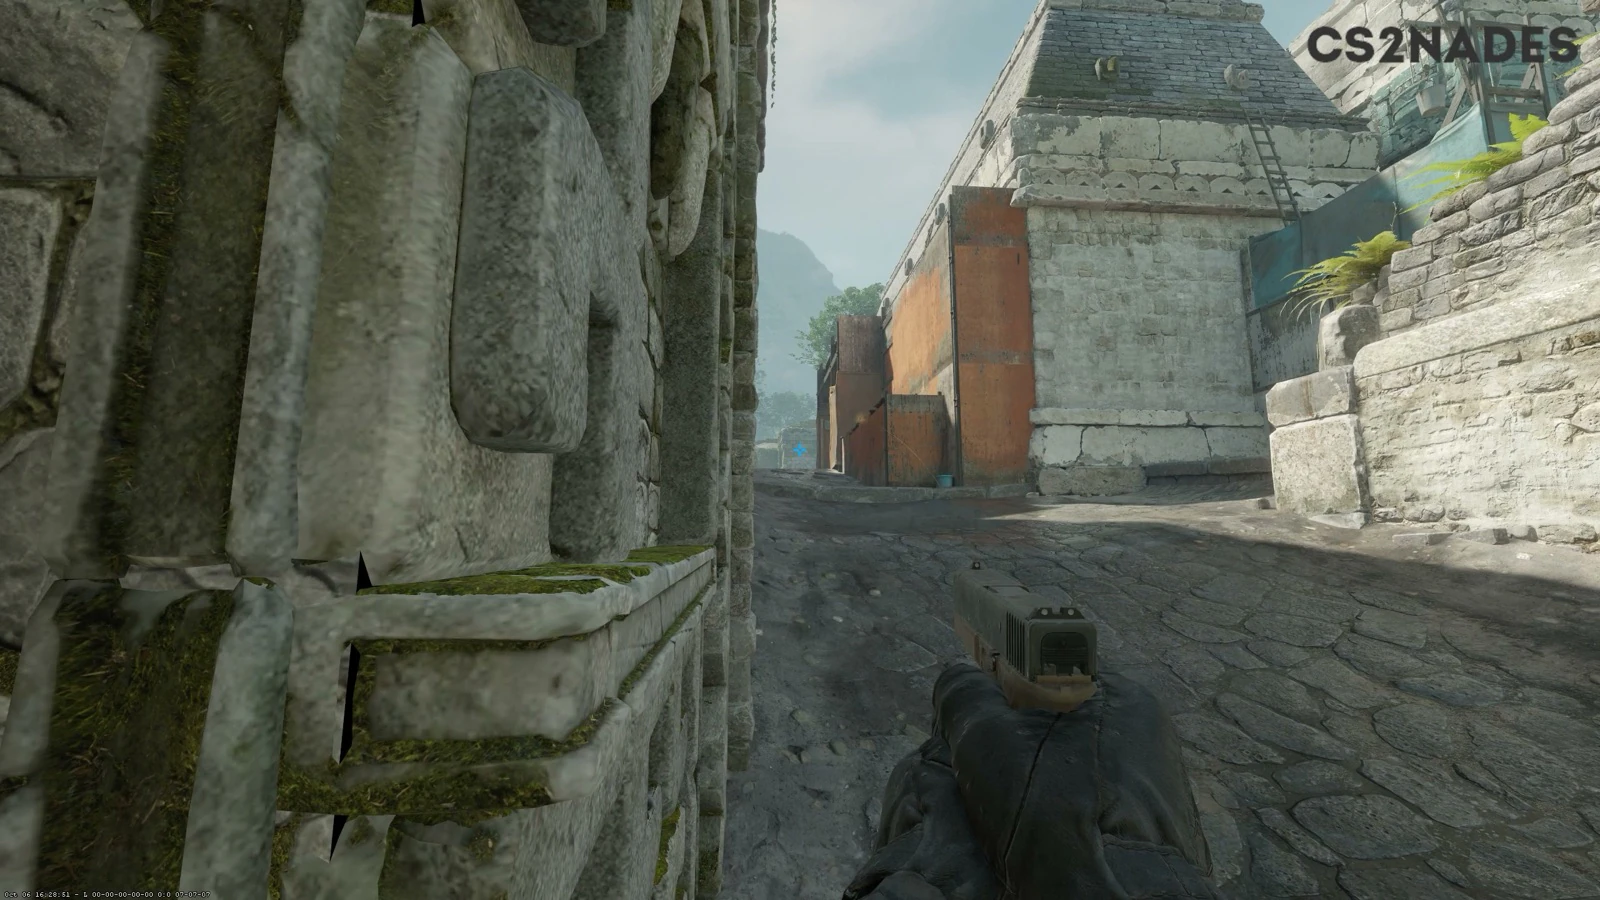
Lineups
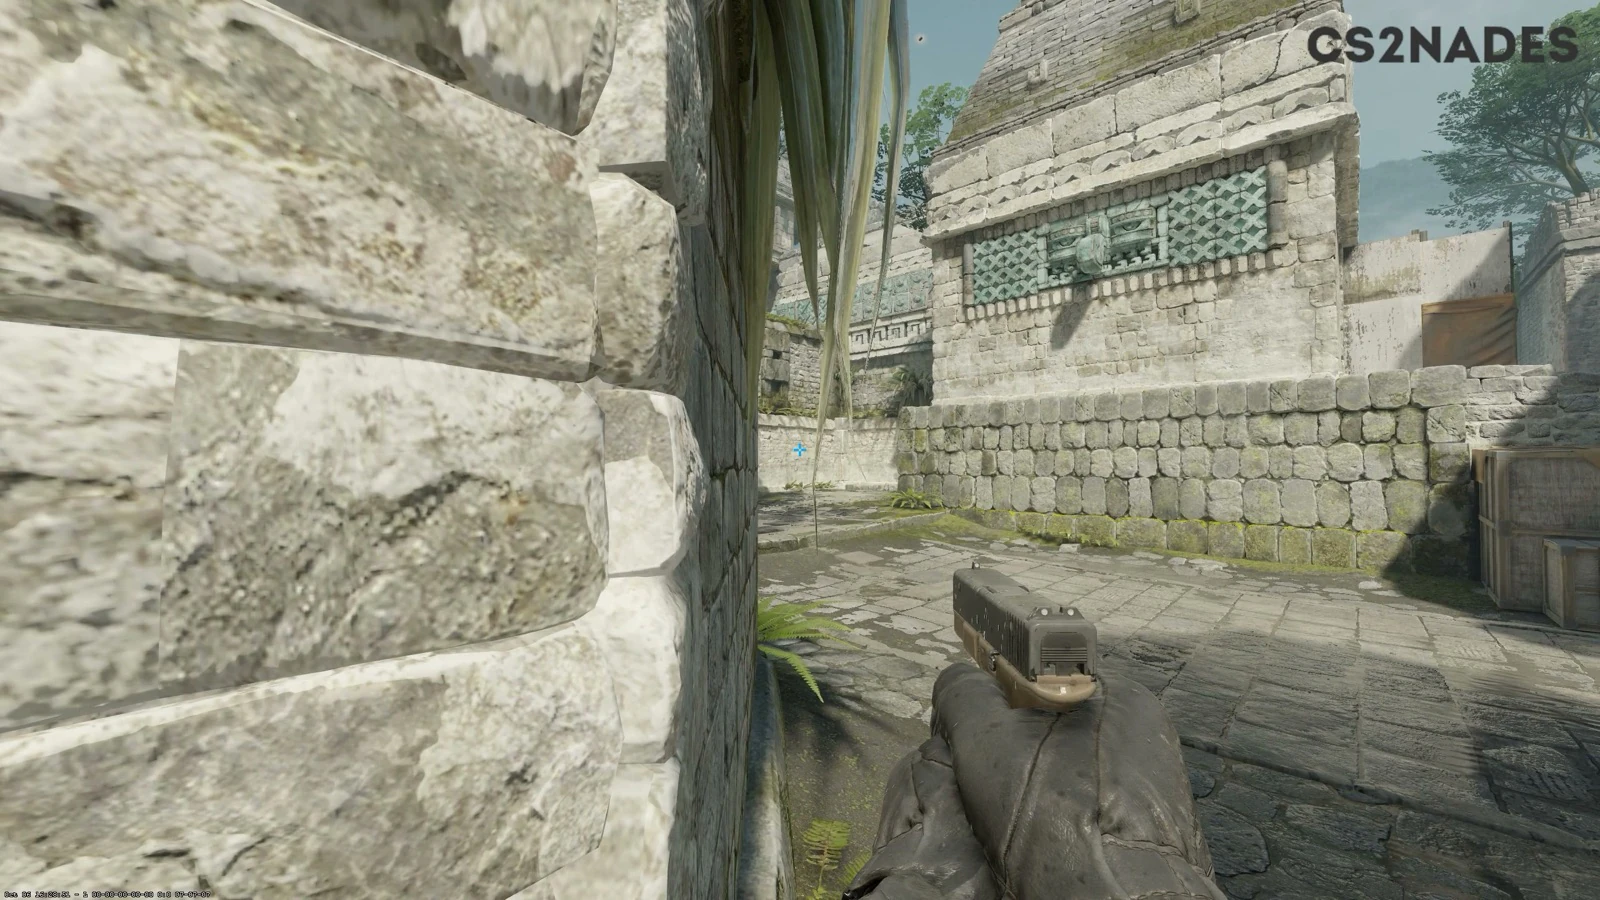
Lineups
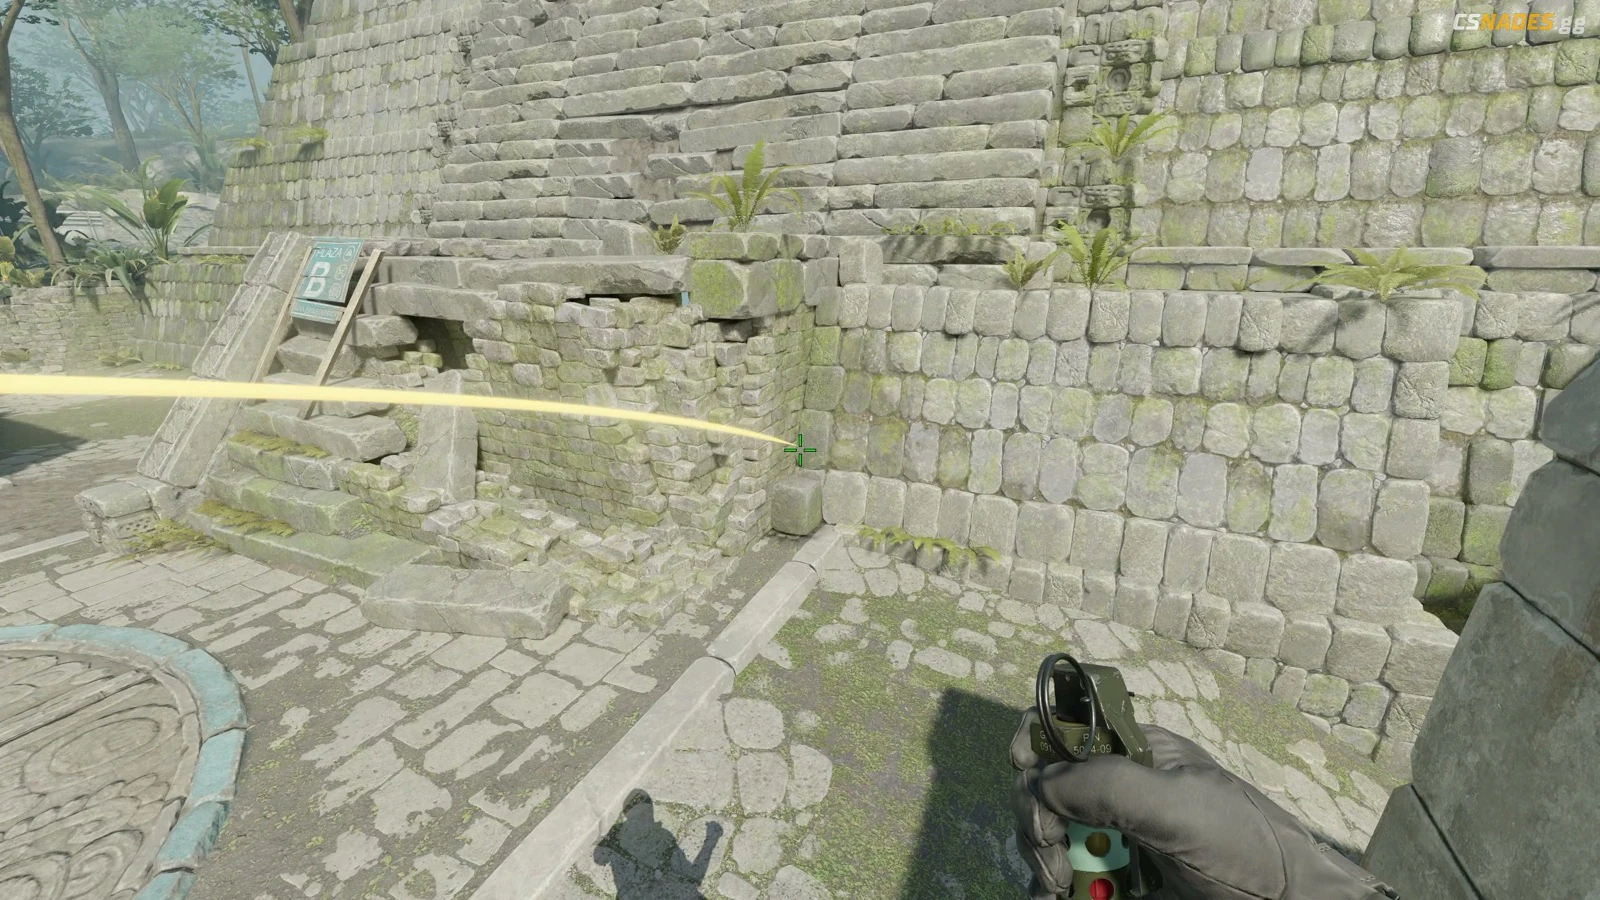
7 situational utilities are tucked away until needed.
When Ts clear the normal B Ramp and Alley lines, hold the offset behind the stone cover and let their crosshair pass the expected corner before peeking. Reset toward site if the angle is spotted or the first shot does not create a tradeable advantage.
When B Ramp is quiet enough to support a close fight, use the box to hide the first defender, then push down the lane with the second player ready to trade. Reset toward site if the entry is spotted early or the lane becomes a dry 1v1.
When Ts show together in the B-side lane, pair the close defender with the wider support angle and fight on the flash instead of offering isolated duels. Reposition after the first exchange so the lane cannot be traded through the same line twice.
When Ts clear House with their crosshair on the usual Red Room line, hold the offset corner and let the first player pass into the lane before taking the fight. Fall back through the room if the angle is cleared or the trade is no longer favorable.
When Ts are probing Cheetah and the B approach, show just enough presence from the upper angle to draw their attention, then fall back through the Side Entrance and hold the re-peek from cover. Break off if the bait exposes the rotation or leaves B without a tradeable anchor.
When Ts enter A and focus on the default plant or the first box clear, hide behind the site box and stay quiet until the player crosses into your close angle. Swing as they commit so the cover gives you the first shot; abandon the hide if the box is cleared or you are spotted.
When a smoke blocks the A-side approach through Side Hall, use the stone corner to spam the expected entry line and punish players crossing behind the cover. Stop once the smoke clears or the defender's position is revealed, then take the normal fight from cover.
When B Ramp is quiet and the team needs an early sightline, boost one CT onto the box while the partner stabilizes below. From the elevated position, hold the long Ramp lane and drop back once the angle is cleared or the boost is discovered.
When A is quiet and the Ts are likely to clear the normal site angles, use the box and ledge to reach the elevated wall-side position, then hold the plant-side approach from the unexpected height. Drop or rotate if the setup is seen before contact.
When Ts are walking into A through Main Hall, keep the first defender tucked while a second CT supports from the site entrance and the AWP watches the contact lane. Take the first fight together, then fall back through Main Hall if the trade does not land.
TBD
TBD
TBD
TBD
TBD